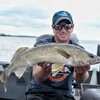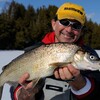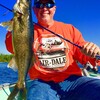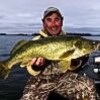
How to Take Fish Pictures Part 2
In last week's blog, professional photographer/videographer Jamie Edwards (Instagram: edwards_jamie) shared some simple things we can do to greatly improve the quality of the images we take on our Northern Ontario fishing adventures.
This week, let's take a bolder step and look at some of the things we can do to make our fish photos stand head and shoulders above the crowd. Starting with turning your camera off, the automatic point-and-shoot mode and taking your photos manually.
"I have to be honest with you," Edwards chuckles, "I'd have to read the manual for my camera to know how to take an image in automatic mode because I never use it. I shoot everything manually."
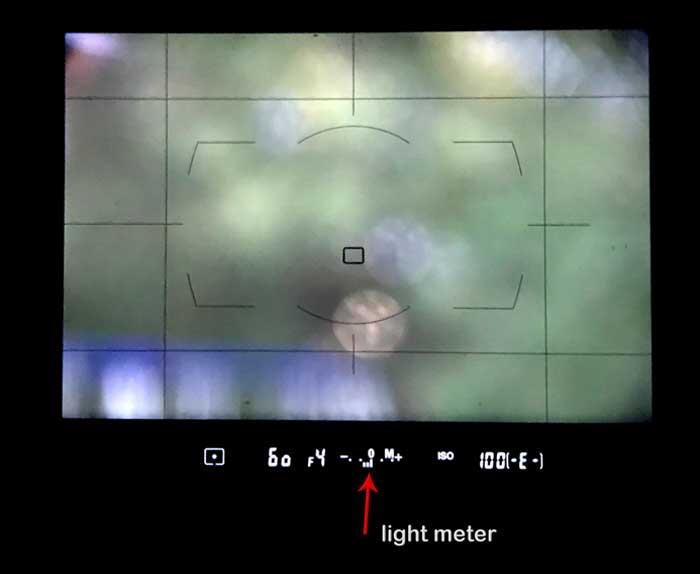
When I mention to Edwards that it is the opposite for most folks who are reading this, he says he gets it, but adds that shooting in manual mode is not nearly as intimidating as it sounds. And the results are so much more rewarding.
"The easiest way to learn how to shoot manually," says Edwards, "is to take your camera to bed with you when you're watching television in the evening. Put it on manual mode and then remember what photographers call the 'exposure triangle.'
"The exposure triangle refers to the three things that you're going to adjust: the aperture, shutter speed, and ISO number. Now, have it in your head how you want the image to appear. Do you want the background in focus or blurred? Is your subject moving, like an angler fighting a fish, or is it stationary like the typical hero shot?
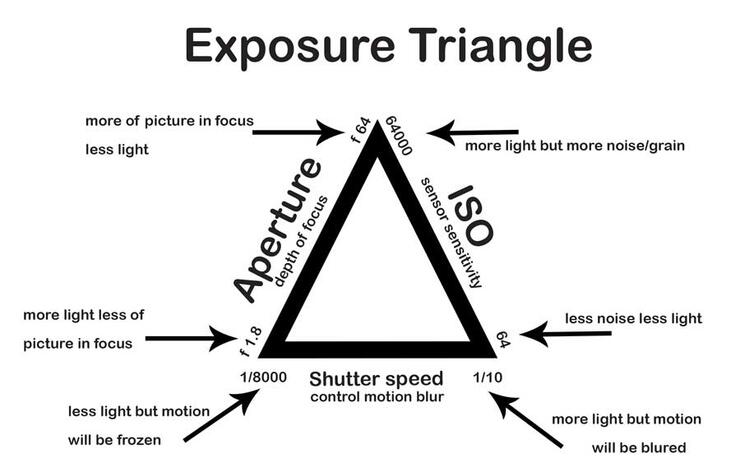
Keep a copy of the exposure triangle handy and use it to balance your aperture, shutter speed, and ISO settings. (Photo credit: Jamie Edwards)
"Now, start taking photos of the television. If a bright commercial comes on, quickly adjust your exposure and take a photo. Do the same thing when something dark appears. When there is no pressure and you're simply lying in bed anticipating and shooting images, you'll learn instinctively which way to spin the camera wheels. Eventually, you'll get to the stage where you can make the changes blindfolded. Then, I guarantee, you'll shoot in manual mode forever."
Another thing that Edwards insists will make your images look like they were taken by a professional is buying an inexpensive $80 to $100 flash and using it during the middle of the day.
"People look at me like I am crazy," says Edwards, "when I put a Speedlight on my camera on a bright sunny day. They wonder, 'What in the world is he doing?'
"But a flash is most useful on the sunniest days when the shadows are harsh. A flash will fill in and even out the strongest shadow."
The key, once again, however, according to Edwards, is turning the flash onto manual mode and dialling down the output to its lowest level. Now, take a quick photo or two, check the results in the viewfinder, and slowly bump up the flash until you get the details you want in the shadows.
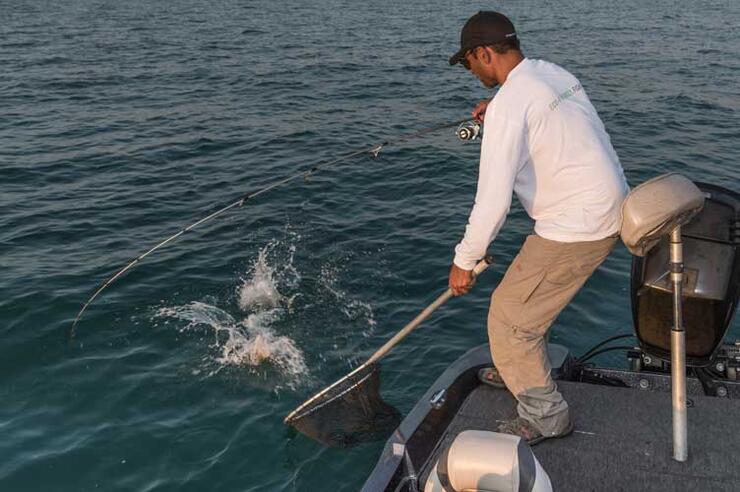
Getting comfortable with your equipment is a theme Edwards comes back to time and again. And while photographers, like anglers, tend to carry more equipment than they'll ever use, Edwards says he relies on the same two versatile lenses every time he steps into a boat.
"The last thing you want to be doing in a boat is fumbling around with lenses," says Edwards, "because invariably one of them is going to fall overboard. Even moving around the boat to get into position isn't the wisest thing to do. So, how do you get the wide-angle shot of the angler holding the fish against a beautiful Northern Ontario sunset one minute and a close-up of the fish and lure the next? You do it by choosing your lenses carefully. I take along two cameras, one with a 24- to 105-mm lens and the other with a 70- to 200-mm lens. Now, I can grab whatever camera I need, zoom in or out, and shoot the perfect fish photo."
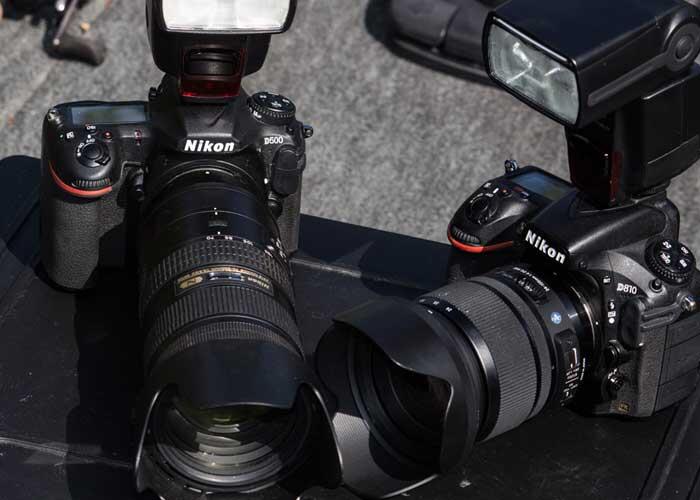
Finally, Edwards suggests buying two inexpensive essentials. The first is a lens hood to cut down on glare, improve contrast and avoid the washed-out effect that creeps into your images when you shoot into the sun.
The second essential is a polarized lens filter.
"There is hardly an angler who goes fishing these days without wearing polarized sunglasses," says Edwards. "A polarizing filter on your camera does the same thing. You'll be amazed how it cuts out the glare and allows you to see into the water. There are no bright spots in the ripples any longer. If you can see down 10 feet when you're wearing sunglasses, your camera will be able to see down 20 feet when you add a polarizing filter."
Give these tips a try the next time you're out on your favourite lake in Northern Ontario, and you'll be shooting images like a pro.
Recommended Articles

10 Facts About Lake of the Woods
Ontario Brook Trout
Best WhiteFish Tactics
Ontario Fly Fishing Hotspots
Big Basswood Lake Resort
Algonquin Brook Trout
Non-Stop Action and Trophy Catches at Timberlane Lodge
Don’t Be Afraid Of Muskies
Lake of Bays fishing
Top 5 Baits for Smallmouth and Largemouth Bass
Eating Northern Pike
Fishing and Foraging
Basin-Shape Walleye
Goulais River Muskie
Speckle Splake Spectacular
The Ontario Fall Crappie Hunt
Fishing Esnagi Lake
5 Places to Shore Fish
Accessible Paradise
