Auroras In Algoma
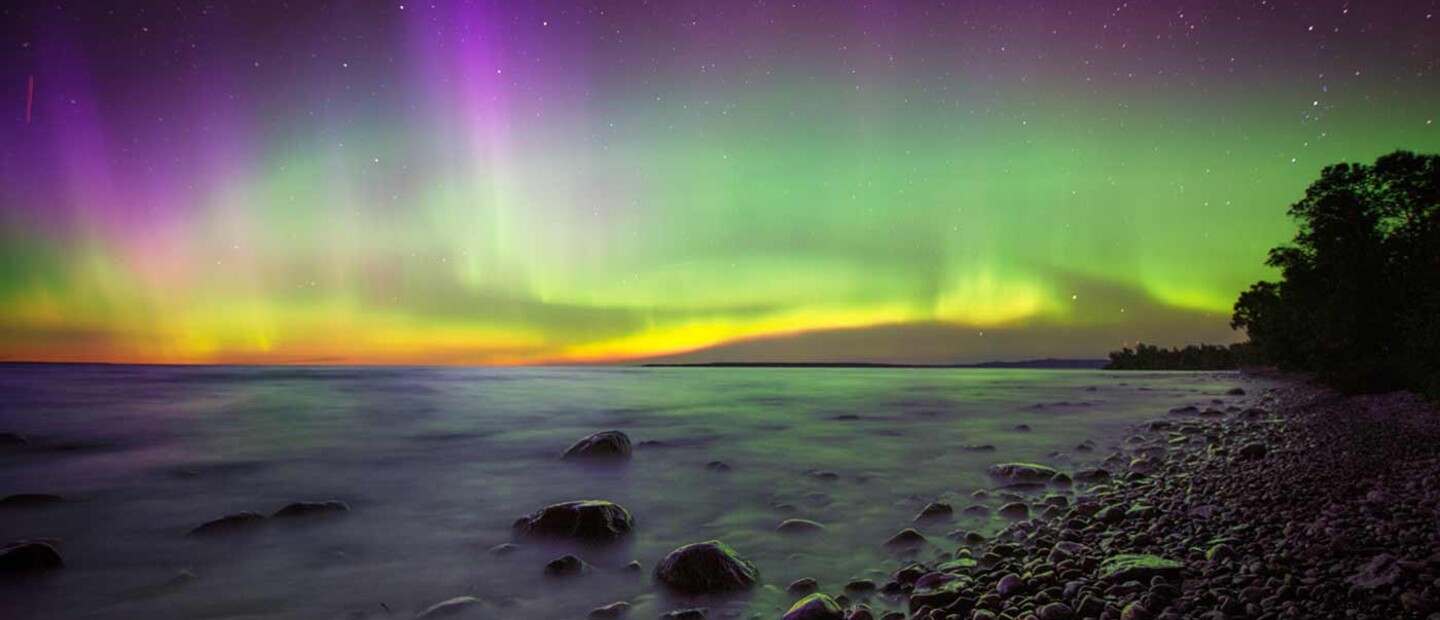
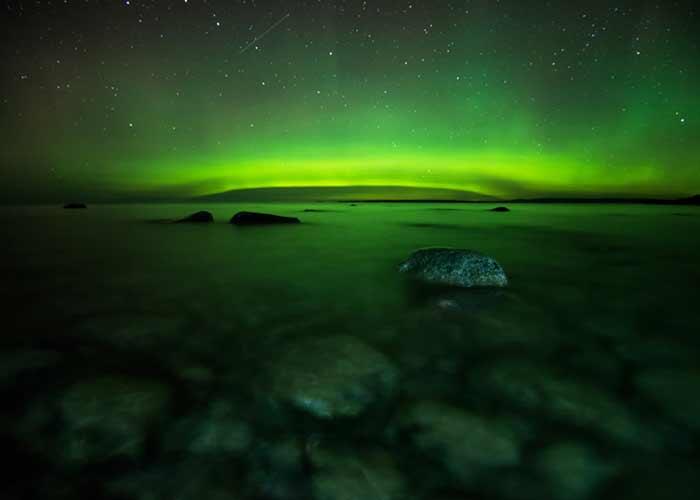
When you think of the Northern Lights, most people correlate them with Alaska, Iceland, Norway, etc. Fortunately, we are situated in the Algoma District and we have the rare luxury of viewing the most spectacular show on earth in this beautiful region. The pulsing lights of auroras are reactions between electrically charged particles from the sun that meet the Earth's atmosphere; they are measured on a scale called a KP-index. In Algoma, a KP level of 3 is enough to capture lights on camera and the higher the number the stronger and more prevalent the lights are.
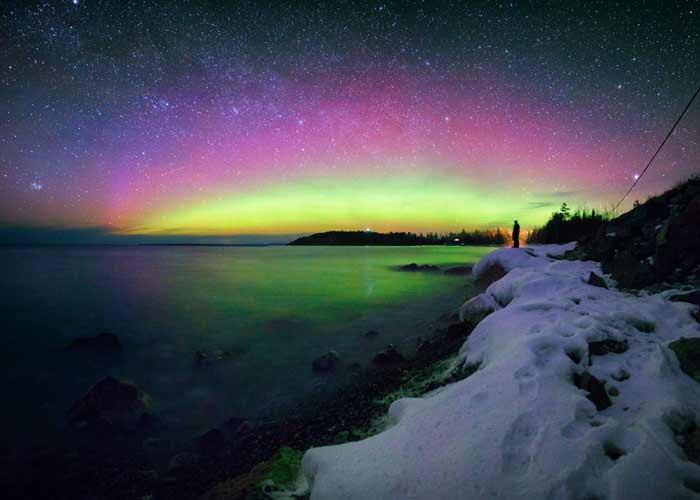
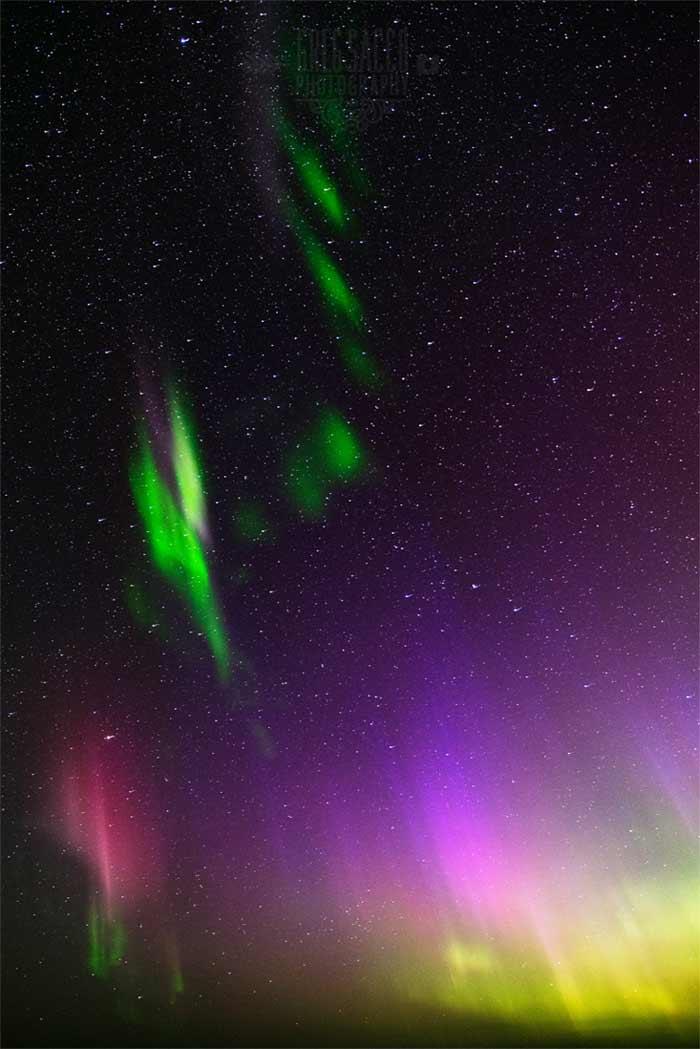
Auroral displays appear in many colours, the most common being green and purple, however, shades of red, yellow, blue, and pink are amongst others that may arise during these powerful storms. The lights appear in many shapes and sizes from arched bands of light to curtains of glowing rays that light up the night sky with an eerie haze.
Predicting An Aurora Storm
Now that you've had an opportunity to understand what causes this phenomenon. It's time to understand the best viewing times and how to find out when and where to go to view them. Lake Superior’s rugged, north-facing shore is a prime spot for viewing, as the light pollution from the city doesn’t affect images.
There are many sources online which assist in predicting a geomagnetic storm; www.spaceweather.com is my number one go-to site for all things aurora. The site includes an aurora oval graph of the northern hemisphere for any geographic location on the planet. The site is also updated hourly by NOAA forecasters (National Oceanic and Atmospheric Administration). We are now in the peak aurora season as they favour equinoxes and will be more common to see under the right conditions. Even a gentle gust of solar wind can spark bright auroras around this time of year.

Photographing Northern Lights
When it comes to capturing the northern lights, it takes patience and a bit of knowledge. You have to be prepared to spend a few hours in the dark and understand your gear beforehand.
Forget your smartphone or point-and-shoot camera, as most do not have a sensor capable enough to take in the amount of light needed to capture the scene correctly.
However, you don't need some fancy-pants $2,000 plus camera, but it certainly won’t hinder you in producing some top-notch results. A $400 Best Buy DSLR and kit lens (18-55 mm) should do the trick for beginners, and still produce some spectacular results; cameras are rapidly developing in their ISO (light gathering) capabilities.
Firstly, you will want to set your camera to Manual mode. Using Live-View display and Auto-focus on your camera, shine a flashlight somewhere in the foreground to illuminate a subject, allowing your lens to focus. Press your shutter down halfway and simultaneously change auto-focus to manual to achieve proper sharpness. Set your ISO between 800 and 6400 (depending on your camera), your aperture between f/2.8 and f/5.6 (depending on your lens), and your shutter speed between 10 seconds and 30 seconds (depending on how dark the night sky is in relation to the moon phase).
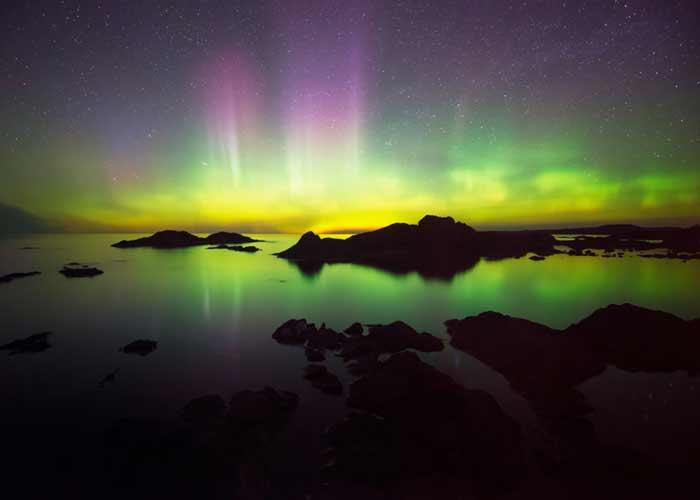
Go outside at night and admire the wonders of this Earth that we share. You may get lucky and experience the greatest show on the planet.
Recommended Articles
The Group of Seven in Algoma

9 Facts to Know about the Agawa Canyon Tour Train
