The Allure of Fall Photography in Northern Ontario
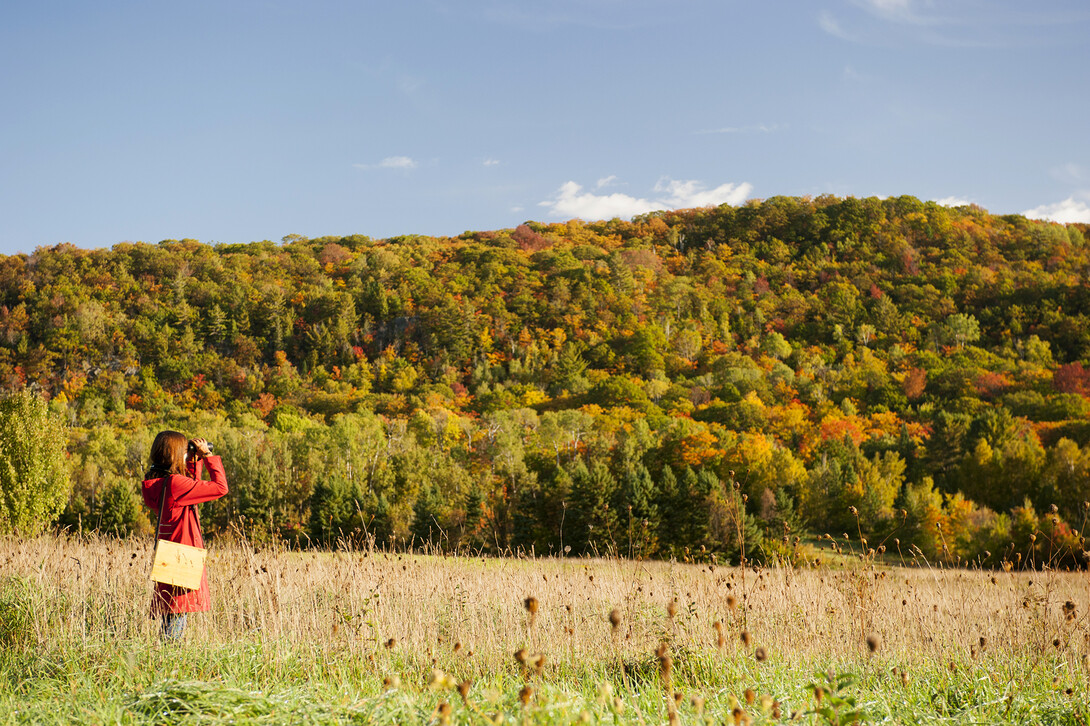
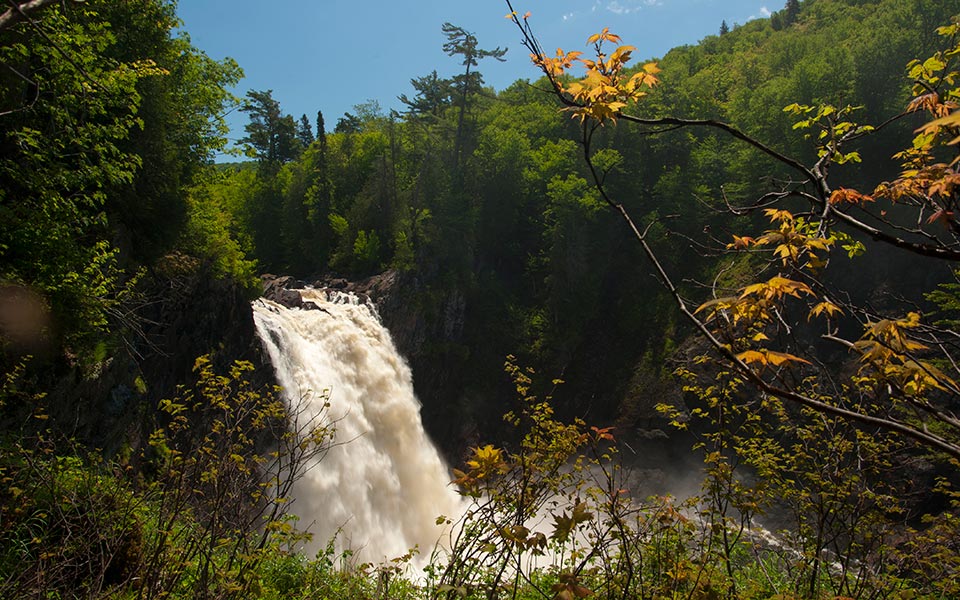
There’s never a bad time to take photographs in Algoma Country. The abundance of forests, lakes, and rivers join forces with the rolling mountains of an abrupt landscape to offer endless opportunities for riveting outdoor photography. Add the myriad brilliant colour to this broad and diverse landscape, and autumn emerges as one of the best times to hunt for captivating images.
Whether we live amongst the brilliant reds of sugar maples or the pronounced yellows of aspen and tamarack accenting the boreal forest farther north, here are some tips for capturing great autumn images.
1. Shoot Outdoors
It seems obvious, but many cameras spend too much time indoors, used only to snap group photos in the living room at family functions. Hit the fresh air for fresh ideas. It's the ever-changing conditions of the outdoors that make shooting outside so intriguing. While clouds, rain, fog, low light and wind can make things more difficult, the same mercurial conditions that challenge us also give us the opportunity to take stunning outdoor photographs.
2. Take the Time to Take Photos
Even the best photographers can be guilty of only pulling out the camera when something happens—like a dramatic sunset or the appearance of wildlife. But simply taking our camera outdoors with the intention of shooting—anything—is an important exercise that helps to develop our skills and creativity.
We don’t need to have a specific subject in mind. Just immerse ourselves in the outdoors and shoot whatever catches our eye—from broad scenic vistas down to the tiniest details of the forest floor. It's often pleasantly surprising what we come back with.
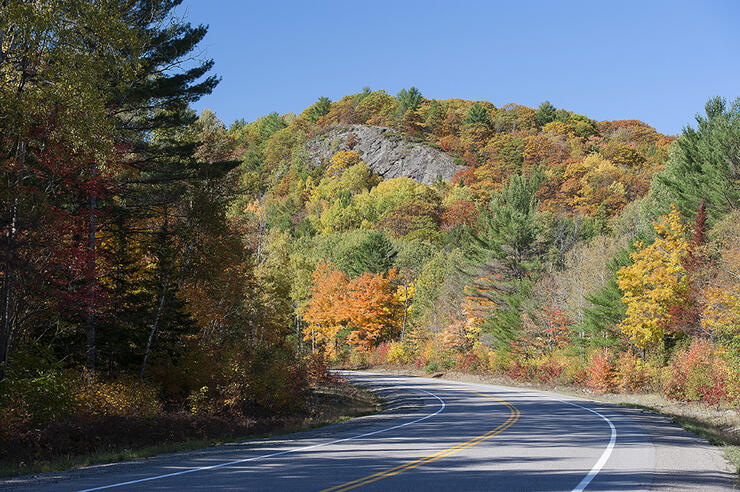
3. Be Aware of the Light
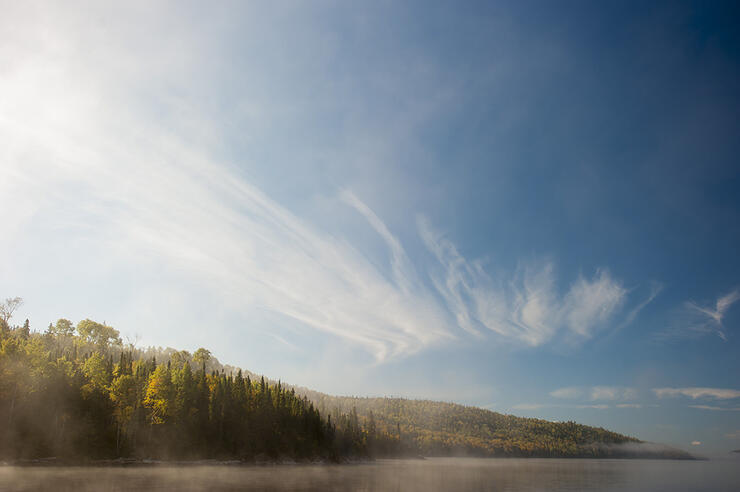
Natural light is the number-one variable that affects outdoor photographs. Generally, the best time to shoot is during the soft light of morning or evening. With the sun low in the sky, we get long shadows and warm reddish-gold light bathing the landscape. Fortunately, with the shorter daylight hours of fall, getting up with the sun is not too difficult, and we don’t have to stay up late to shoot till sunset.
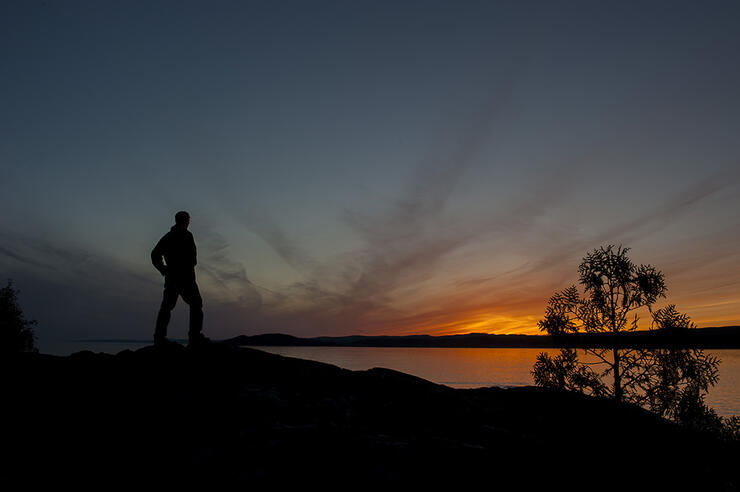
If we have to shoot midday, always determine the direction the light is coming and avoid shooting into the sun. Keep the sun at our backs and let it shine down on our subject, whether it's a person, place, or thing. Of course, every photographic rule can and should be broken. For instance, we can shoot towards the sun in order to have our subject backlit or in silhouette. Results will range from disappointing to awesome, and we really can't lose by experimenting.
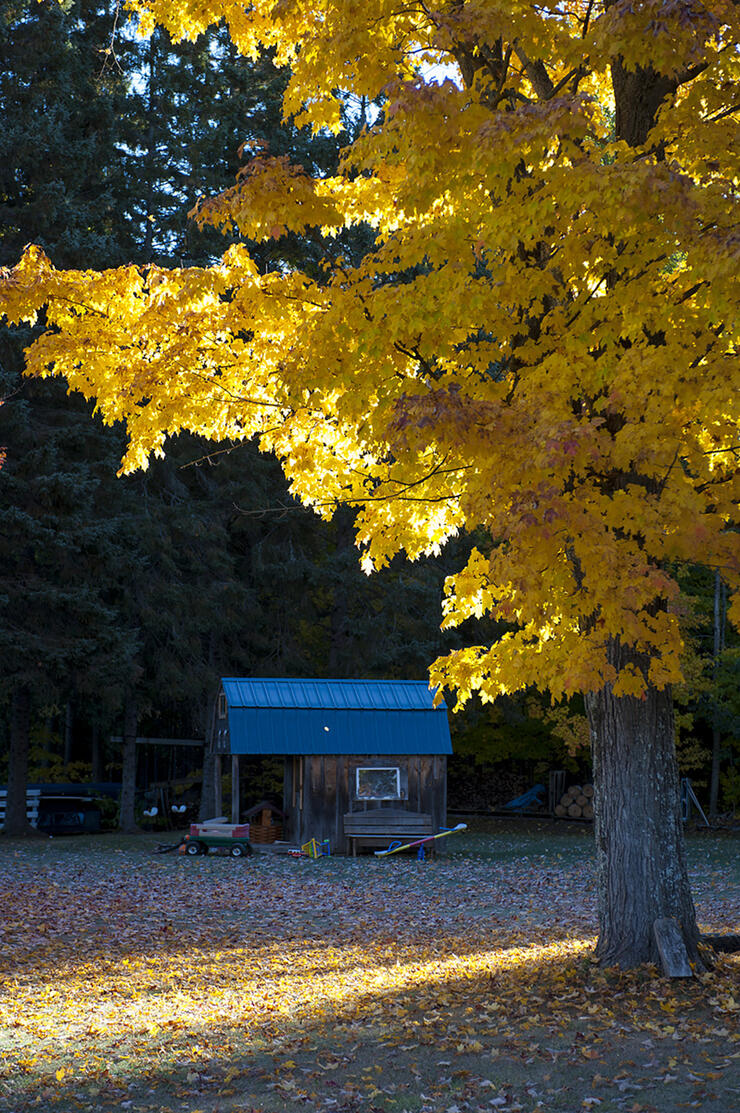
4. Draw Inspiration from the Masters
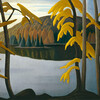
The beauty of Algoma Country in its autumn disguise was no secret to Canada’s Group of Seven. Canada’s most known group of landscape artists visited Algoma Country and the coast of Lake Superior after World War I to create some of their most iconic paintings. Many of the painting sites look as they did 100 years ago, and it’s still possible to stand in the artist's shoes and see the landscape as they did.
Attempting to take a photograph that resembles specific Group of Seven pieces is an excellent way to study how things like composition, colour, and light are used to create masterpieces, whether paintings or photographs. Also, setting out to look for specific Group of Seven painting sites is great motivation to get outside and on the land.
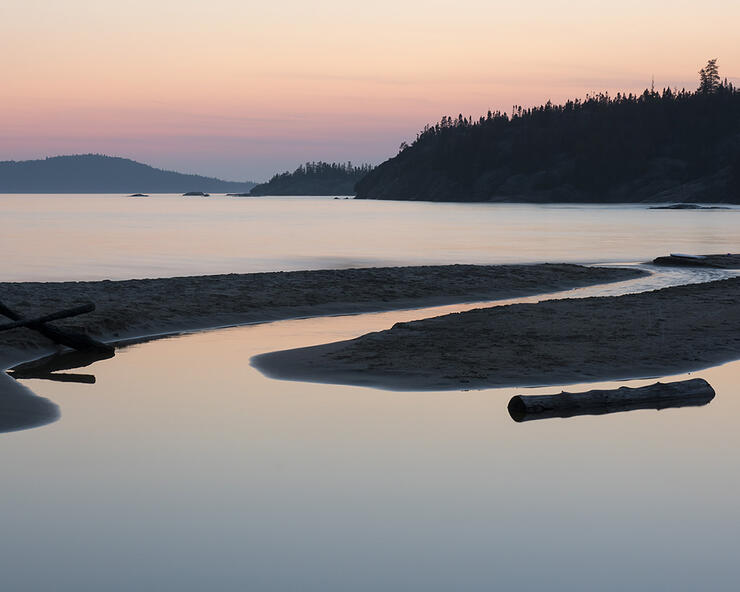
5. Use a Polarizer Filter
The harsh light of midday can make a scene look washed out and dull. A circular polarizer, a filter that screws on the end of our lens, works like a pair of polarized sunglasses for our camera. Like sunglasses, a polarizer will remove the glare from water and render blue skies more blue and white clouds whiter. The result is a higher-contrast, richly saturated image. Another way to increase colour saturation is to slightly underexpose our shots by adjusting our exposure in manual mode or using the exposure compensation dial.
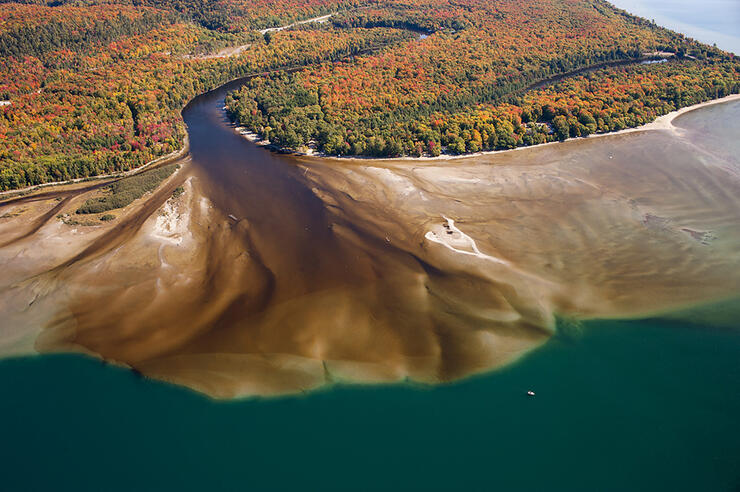
6. Use a Tripod
Shooting in low light situations, like the encroaching darkness of evening, can result in hauntingly beautiful images. Shooting in low light requires a slow shutter speed for proper exposure. The problem with slow shutter speeds is that any camera movement will cause our image to blur. The best way to eliminate movement, for crisp low-light shooting, is to mount our camera on a tripod.
7. Use Motion
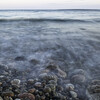
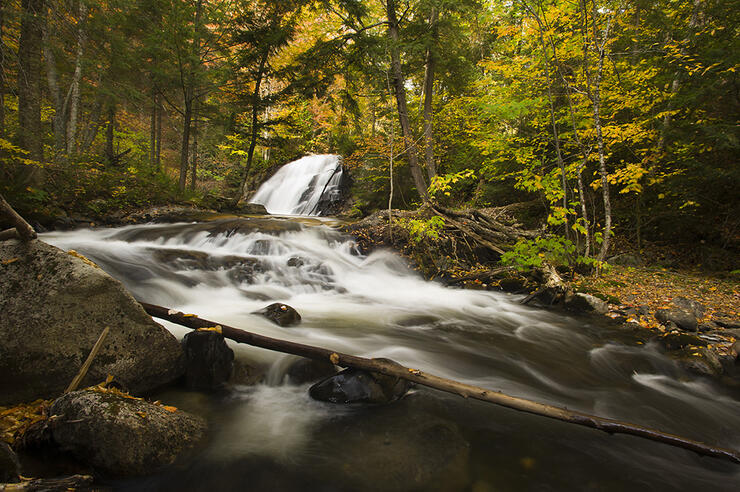
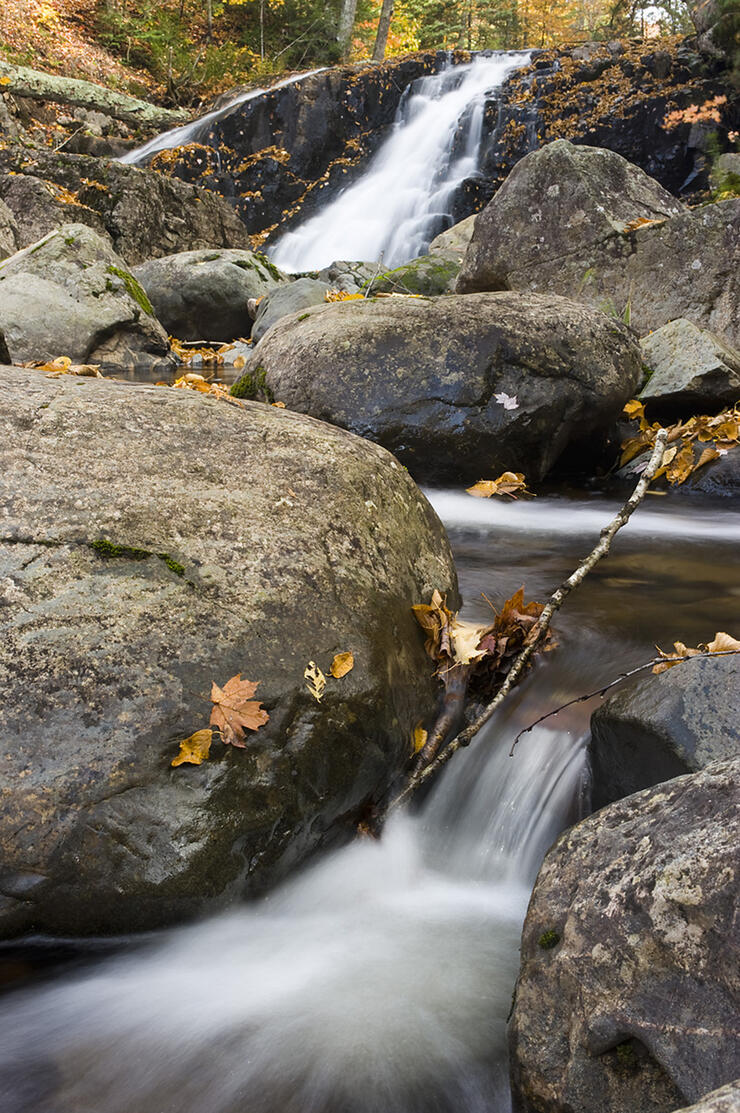
Look for things like flowing water, crashing waves, or windblown leaves. Using a tripod with a slow shutter speed of a half-second or longer will render stationary objects sharp and clear, while the moving elements will be blurred resulting in dynamic images.
8. Look for Contrast
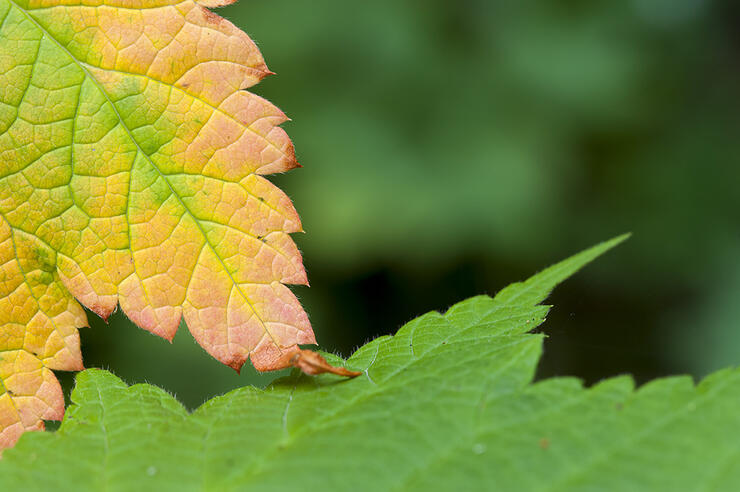
Simple compositions, such as bright yellow leaves on dark rocks or glowing orange mushrooms sprouting out of the dark forest floor, present the perfect opportunity for showcasing the dramatic colours of fall by contrasting them with their natural dark backgrounds.
With the onset of fall colours across our northern landscape comes a prime opportunity for outdoor shooting. Like any worthwhile pursuit, it takes time to work successfully with all the elements of photography. But those of us who spend time among the autumn woods and waters know that it’s time well spent.
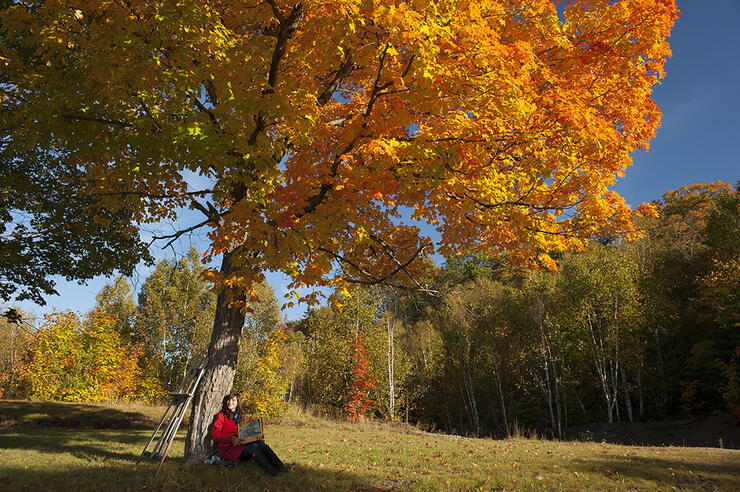
Here are other tips from professional photographer James Smedley for photography in Algoma:
Recommended Articles
The Group of Seven in Algoma

9 Facts to Know about the Agawa Canyon Tour Train
