Bait Caster Basics: Spooling the Casting Reel
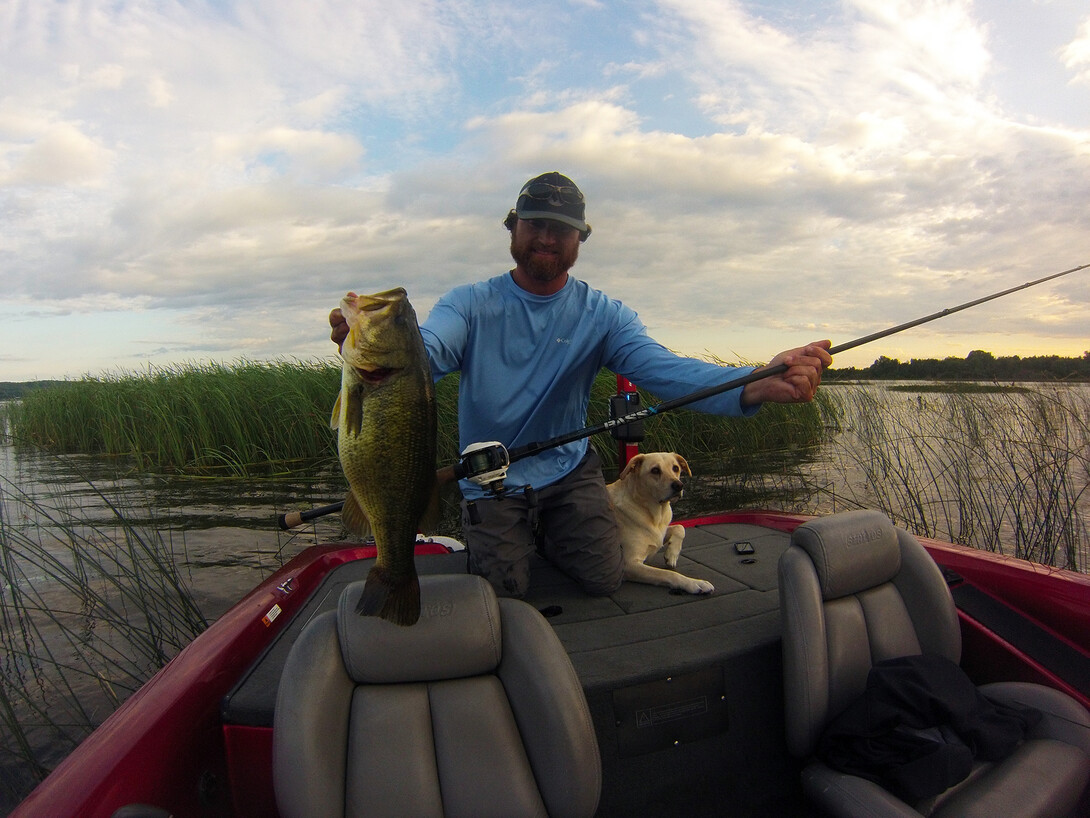
Anyone who has braved a bait caster knows that one small mistake can lead to a backlash that is simply beyond repair. This can further lead to cutting off all of the lines on the reel and re-spooling—or putting the rod on the deck of your boat and retiring it for the day.
This won't apply to all anglers, but the casting reel is used a lot in fishing. It takes a lot of practice but, once you have the grasp of the casting reel (bait caster), then you can fully reap the benefits. However, learning to cast these reels is a whole other topic—today we focus again on spooling each line class properly. Following a couple of crucial steps can really improve the performance of this reel type.
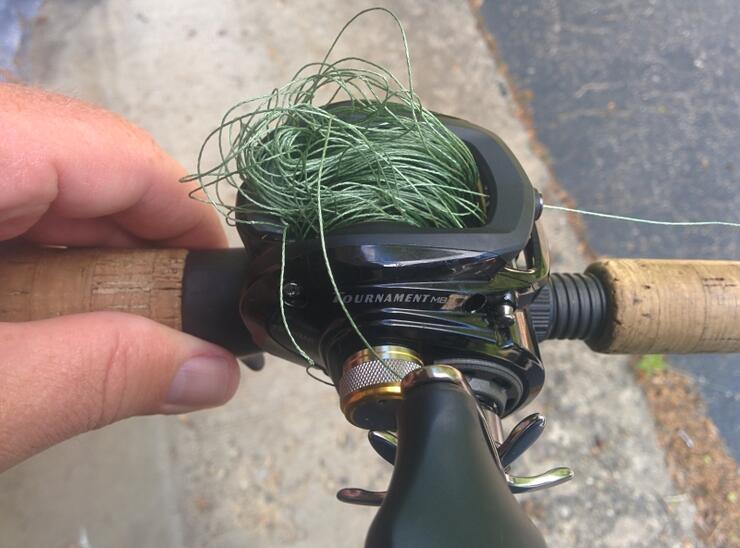
This week we will keep monofilament and fluorocarbon together in the same class and braid in a class of its own. Bait casters, although not necessary, can be easier to spool with a friend. Having the ability to stretch the line with a buddy when spooling up can ensure that the line goes onto the spool evenly and snug.
Monofilament / Fluorocarbon
Before we even think of spooling up, we must consider the memory characteristic of this line class. That being said, it's imperative that the line come off of the top when you are spooling a casting reel. This ensures that the line is coming from the feeder spool counter-clockwise so that the reel is, in a way, neutralizing the memory in the line.
With the casting reel already fastened onto the reel seat of your selected casting rod, follow these steps to complete the entire re-spooling process.
Step 1: Take the tag end of the line from the selected spool that you wish to use. Guide the line through all the eyelets in your rod.
Step 2: Run the tag end through the line guide (level wind) of your casting reel. Note that sometimes the holes on these line guides can be very small—be sure that the line is fed through the line guide, or your line will not spool evenly.
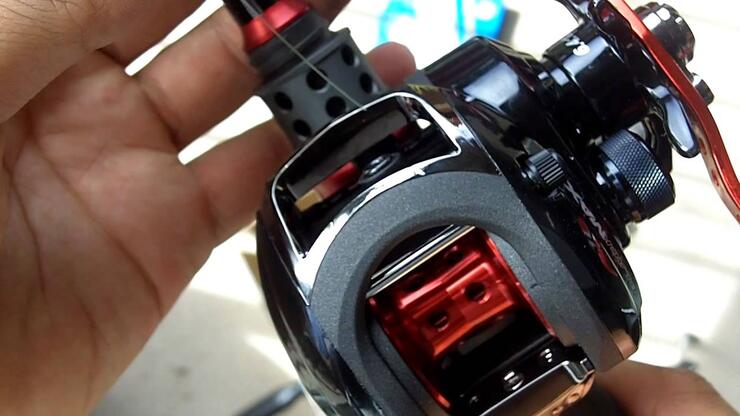
Step 3: Once through the guide, loop the line around the spool, tie two double-over-hand knots, and synch the line against the spool. With your line snug to the spool cut of your tag end. Note: this is the same knot used to tie the line to your spinning reel.
Step 4: Now, with a friend standing a short distance away and the line coming from the top of the feeder spool, begin to reel, keeping the line between your index finger and your thumb using your free hand. By using your free hand this way, you ensure the line will lay onto the spool tightly and evenly.
Step 5: Reel the line until the spool is as full as you can get it. The spool is gauged as full when the line on the spool is even to the base of the spool on the inside of the reel.
Braided fishing line
Generally a lot easier to spool up, braided fishing line has one major tip that needs to be followed. Again, with our casting reel already mounted and fastened onto our casting rod...
Step 1: Using monofilament or fluorocarbon, follow steps 1 through 3 of the fluorocarbon spooling process.
Step 2: Now that you are ready to lay some line on your casting reel, turn the reel hand 10-15 times, again keeping the line tight between your index and thumb.
Step 3: Now cut the line. Take the tag end of the braided line and the tag end of your backing and tie the two lines together again, using the double UNI knot that we used in last week's blog. Cut the tag end of each line class.
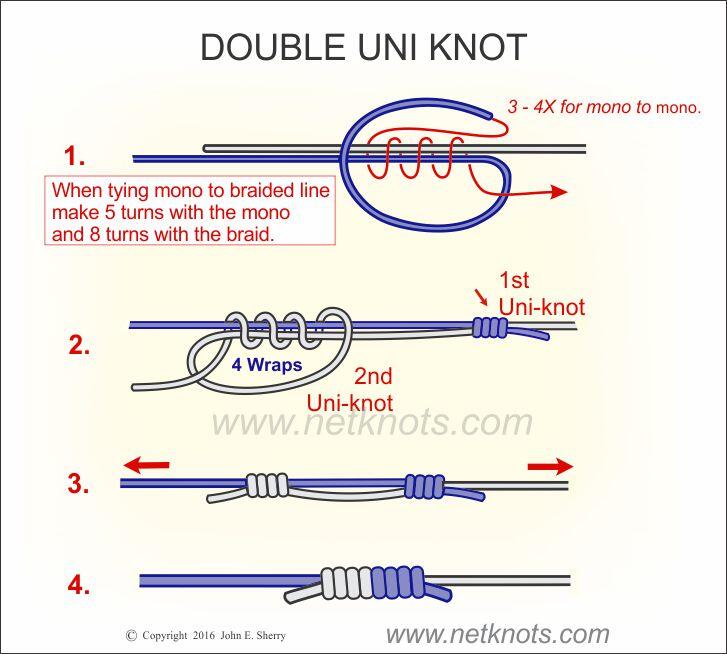
Step 4: Now, with the line between your index and thumb, begin to reel the line onto the spool. When your connection knot gets to your casting reel, a small tip: try to lay the connection knot as close to the middle of the spool as you can. Once the knot is set where you want on the spool, continue reeling until the spool is filled, the same as we did with fluorocarbon. Now, using a wet cloth on your hand can really help with line burn.
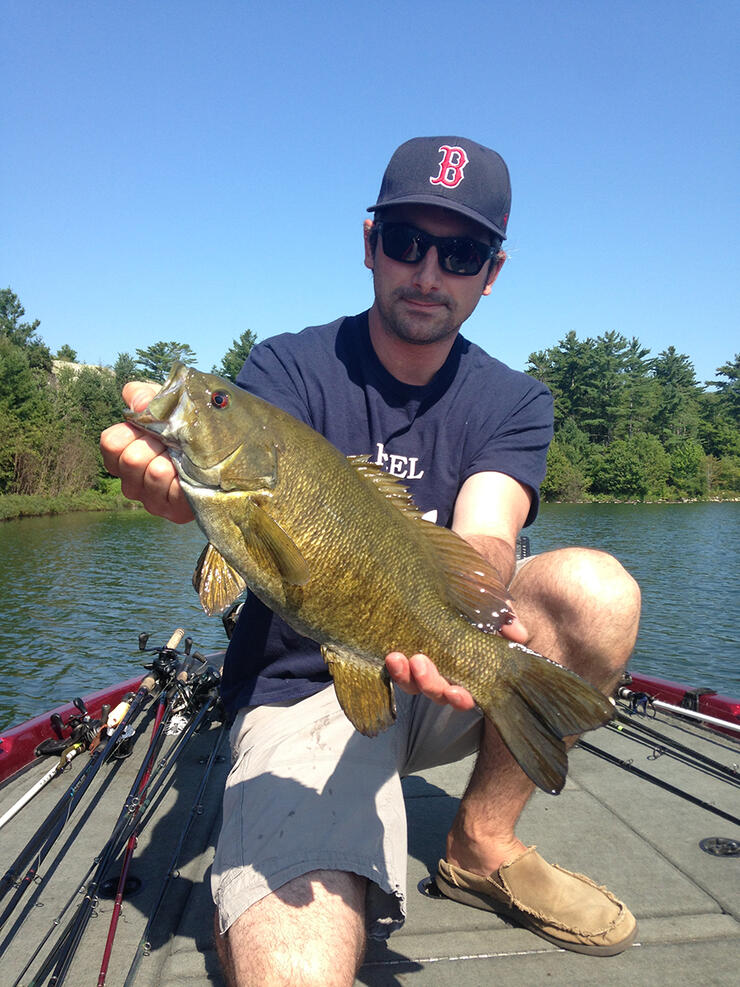
You are now ready to hit the water and backlash your newest spool of line. If you're new at using a baitcasting reel, the hard truth is: get used to it. In next week's blog, we will discuss some different knots to use and when to use them.
Recommended Articles

The Group of Seven in Algoma

9 Facts to Know about the Agawa Canyon Tour Train


