Tackle Tip Tuesday: Spooling Your Favourite Spinning Reel
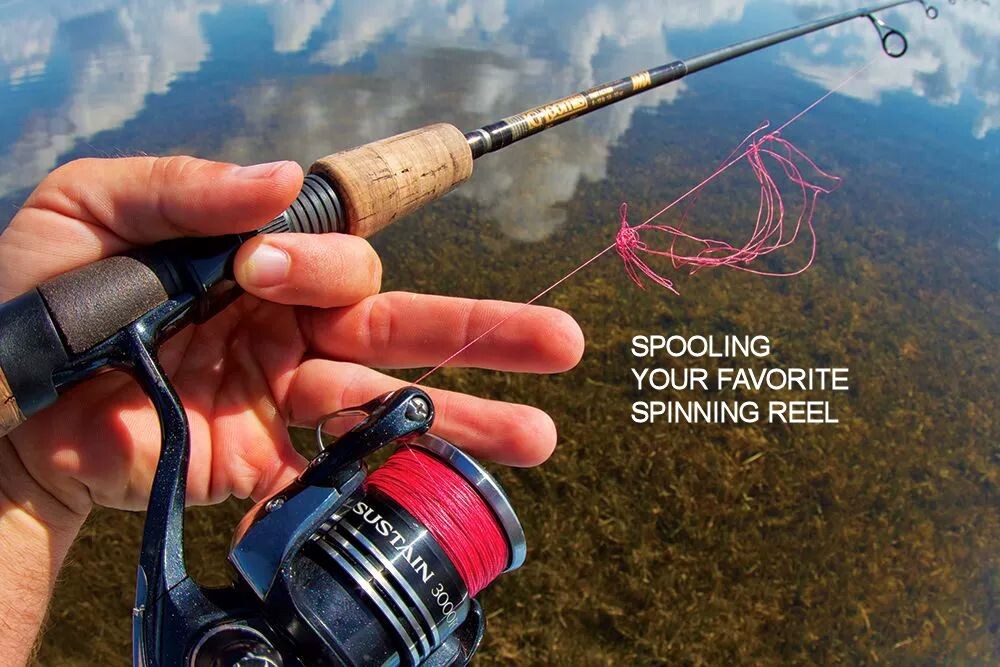
It's the first trip of the season, you have all your new gear loaded, your new favorite combo is spooled and ready to go with a brand new spool of line. The sun is starting to rise, the water is calm, and you're finally en route to your favorite fishing spot. You shut the main motor off or arrive at your favorite river hole. You flip your bail to make the first cast of the day and before you even get a cast in, all of your freshly spooled line jumps off your spool.
First bird's nest of the year and you're not even a cast in— not a very good start. "What went wrong?" you wonder to yourself, and what could you have done differently? This week's blog will discuss some general rules of thumb for spooling line.
In last week's Tackle Tips, we discussed the three different line classes and the characteristics of each line. This week we are going to explain how to properly spool each of these different line classes on conventional spin cast gear. Since fluorocarbon and monofilament are so much alike, they generally have the exact same spooling process, so this week's article will be bundled into the same class.
Conventional Spinning Reel
Monofilament/Fluorocarbon
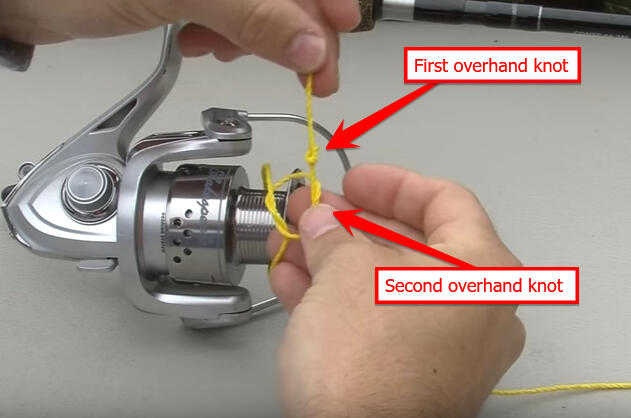
Step 1: With the spinning reel already on a rod and with the spool of line on the ground (brand facing up), take the beginning of the spool of line and insert it through the first eyelet on the rod closest to the reel seat. With the bail on the reel closed, run the line under the roller on the spinning reel. Now wrap the line around the spool and tie two overhand knots, making it snug against the spool. Cut off your tag end with a pair of scissors.
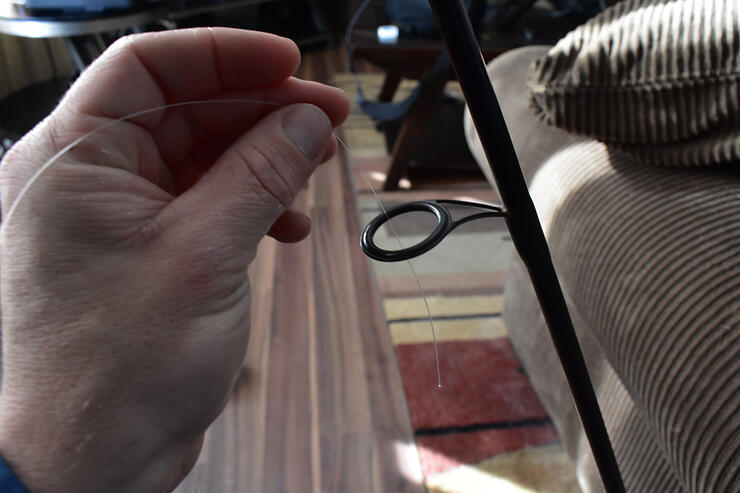
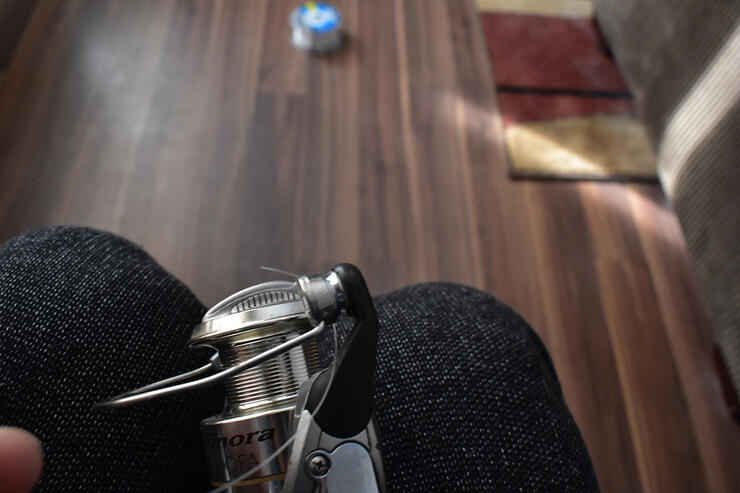
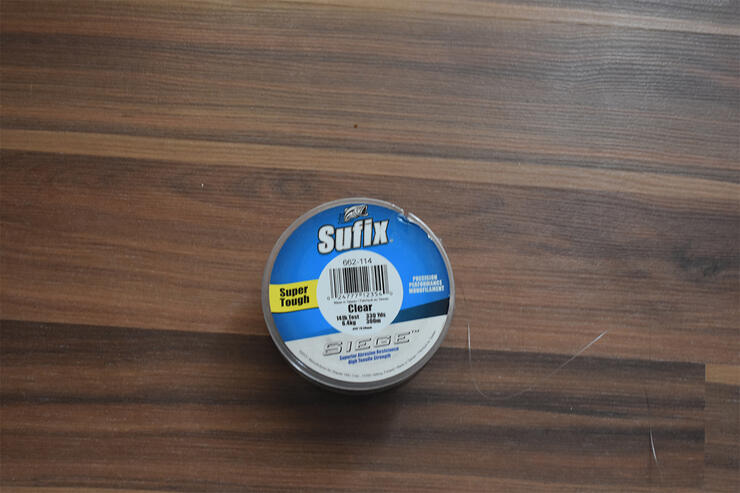
Step 2: With the spool of line on the floor, be sure that the line is coming off of the spool counterclockwise (usually brand facing up). Since spinning reels turn clockwise, this will help you to avoid a line twist. Begin reeling the line from the spool keeping tension on the line by holding it against your rod with your free hand. A tip to save your hand from being burned by the line: use a small wet cloth to hold the line against the rod. Make 15-20 handle turns on the reel and then stop and observe the line. If you see that the line is beginning to develop line twist or gain memory, simply flip the spool of line on the floor so the brand is facing down and start reeling again. You will know if there is memory developing if the line begins to curl and twist (almost resembling a pig's tail).
Step 3: Continue this process until the line is roughly 1/8 of an inch from the base of the reel, ensuring that there is still room available on the spool. Never overfill your spinning reels—if you think you have too much line on your reel, then chances are you most likely do. Overfilling your spool will cause your line to jump off the spool, and you'll end up with a lot of wasted product.
Braided Fishing Line
With the known characteristics of braid having very little to no memory, braid is actually very simple to spool once your spool has been properly prepped. Before we are ready to start actually putting line onto the spool, you must be sure that the braid has something to bind itself into. If the braid does not have something to grip into it, it will simply slip and spin on the spool not allowing the angler to reel in when the line is under tension.
In order to stop this from happening, apply a monofilament backing. In order to do this, repeat step one of the above process; once you reach step two, stop reeling after the first 10 handle turns and cut the monofilament line off at the spool. We are now ready to tie our braid to our monofilament. There are multiple line-to-line knots that exist, and any will do, as this knot will be buried deep in the spool and not often reached. The knot that will be displayed this week will be called the double uni-knot.
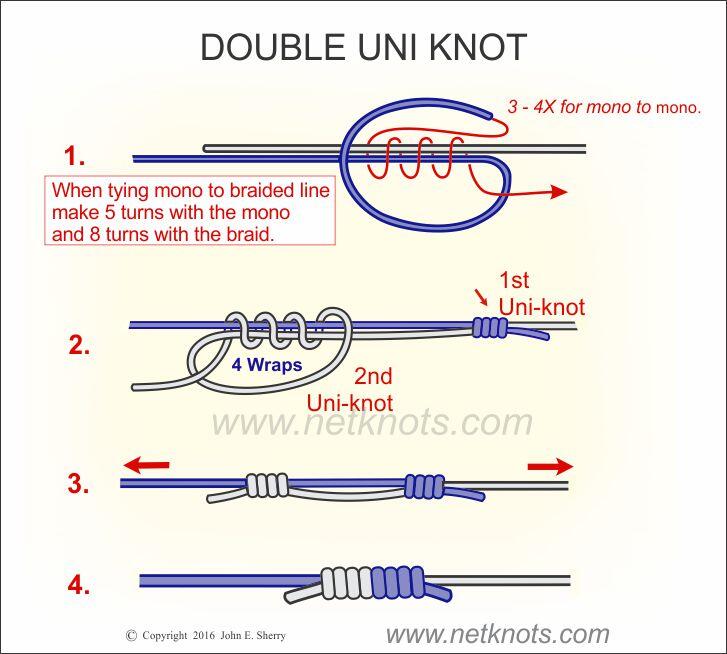
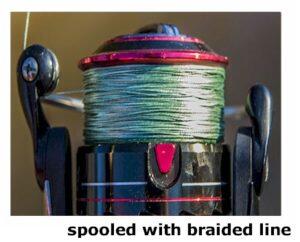
Once you have the two lines connected, cut off the tag ends of each line. You can now begin turning the handle on your reel. Again, when turning the handle, be sure to keep tension on the line with your free hand to ensure the line goes on snug. Fill the reel again until approximately 1/8 of an inch of the base of the reel is showing and cut the braided fishing line. Since the braid has very little memory the spool does not need to be flipped over in the process. You are now ready to go fishing!!
Next week will break down the process for spooling these line classes on a baitcasting reel.

Recommended Articles

The Group of Seven in Algoma

9 Facts to Know about the Agawa Canyon Tour Train


