So You Want to Sled the North
Editor's Note: Again this year, we’re seeing an influx of U.S. sledders taking advantage of the exchange rate and booking their vacations north of the border. We asked local snowmobiling expert Luc Levesque, the legendary Groomer Guy, to write for us the definitive guide for planning a snowmobiling trip in (and to) Ontario.
How To Plan Your Northern Ontario Snowmobile Trip
If you’re new to riding in Canada and Northern Ontario, planning a trip can be quite the endeavour. Services in the north are often not as available as they are in the more populated areas. While the OFSC’s 33 self-guided snow tours take care of the route and ensure that there are the necessary services, when it comes to the northern loops, one cannot just hit the trail heading to the next destination without doing the proper planning.

You may ask yourself, “Why would I go to all the hassle of trekking way up north, surely I can find somewhere closer that will be just as fun?” Those who have been following me through the years know that I am always straightforward in telling how things are. I want my fellow snowmobiler to be well informed and to have the real information, that's how I built my reputation over the years.
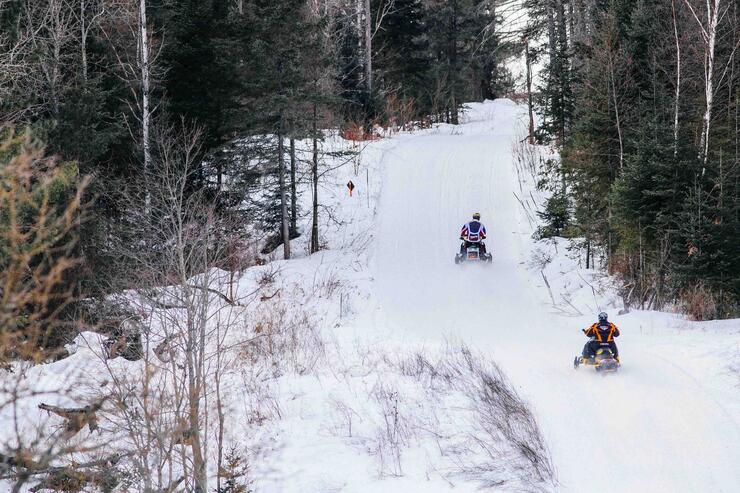
A trip in Northern Ontario can be more work but once you ride here you will be glad you did—and you will come back to ride again. The natural beauty, the safety of those wide, smooth trails, and the variation of terrain—from power lines, logging roads, and rail beds to trails over remote lakes and twisty forested sections—are going to make Northern Ontario your favourite destination. Just like Dorothy in The Wizard of Oz, you will put your snowmobile boots on after a bad day at work, click your heels together and say: “There’s no place like Northern Ontario, there’s no place like Northern Ontario… take me there.” OK, OK: if you ever do that, I want to see it!!! Haha! Here are some of my tips.
Choosing Your Route: How to Use the OFSC Interactive Trail Guide
When planning a trip in Northern Ontario, your first step should be to go on the OFSC (Ontario Federation of Snowmobile Clubs) website and look at the trip planner section. There, you can look at the Ontario Interactive Trail Guide and see where you want to ride and make note of the different communities where you plan on riding. You can also find the OFSC member clubs' information there so you can contact them to get more information.
Using the trip calculator option on the trail guide, you can plan your entire trip. Just hover your cursor over a section of trail that you want to calculate, click on the trail, and a box will pop up giving you the trail name, type of trail, name of the club who maintains that section of trail, the district it’s in, length of that section of trail, current trail status and date the status was last updated. At the very bottom of this box there is a button that says, “Add to Route.” Click that button, and the section of trail will be added to the trail calculator.
From there all you need to do is repeat along the sections of trail you want to calculate. The trail selected will be highlighted until you clear your trails in the “My Route” section. Now make sure to zoom in, as you could miss some small section that you might not see and end up missing some kilometres, and your calculations will be off—I know because I’ve done it myself.
Check Trail Status
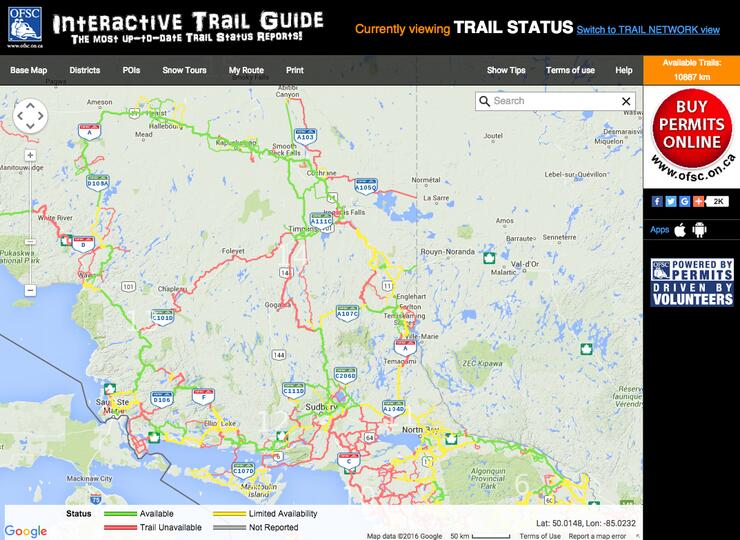
So now that you’ve calculated distances and planned out your route and your trip is a few weeks away, one of the best features of the Interactive Trail Guide is the real-time trail status. Trail Statuses are updated twice a week, in the right-hand corner, there’s an orange box that displays “Available Trails Kms.” When trails start to open up, and they are added on the Interactive Trail Guide, this box will display the total number of available trails in Ontario. When the snow starts falling and you know clubs are starting to pack down trails and getting things ready, you go on the site looking, hoping to see a number come up showing there are places to ride. As it goes on at the start of the season, we look at this often and get as excited as watching a Jerry Lewis telethon seeing the money totals going up—for us die-hard snowmobilers, it’s like that! Hahaha!
OK, so now back to trail statuses. The OFSC uses a series of trail statuses to keep you informed of what is going on with the trail system. Years ago it uses to be Open, Closed, Excellent, Good, but because some people couldn’t be accountable for their own actions and sued the OFSC (don’t get me started on this), it had to be changed to these four status levels:
- Green, “Available”—means that the trail is in great shape and that there is no danger, the trails are groomed and ready to go.
- Yellow, “Limited Availability”—this means that the trail may have some imperfections, stuff like some wet sections, some sections that need more snow to cover the rough parts, or low snow areas. Most of the time the trails are nice, but we want to be careful and use caution. This is often displayed at the start and end of season.
- Red, “Trail Unavailable”—the trails are closed to traffic. If you see this, do not use the trail; there is a reason why it’s closed, contact your local club to get more information.
- Grey, “Not reported”—this means that somebody didn’t get the updated bi-weekly trail reports in on time, so the trail will be posted like this until a report is sent to the person doing the updates. It’s happened to me over the years, I’ve been guilty of not submitting my trail reports to the district office on time. Remember, we’re all volunteers!
Trail Permits
To ride Ontario trails you need a trail permit. This trail permit gives you access to over 30,000 km of well-marked and groomed trails. It provides funding for the clubs and their volunteers to maintain the trails.
Here are the OFSC trail permit prices:
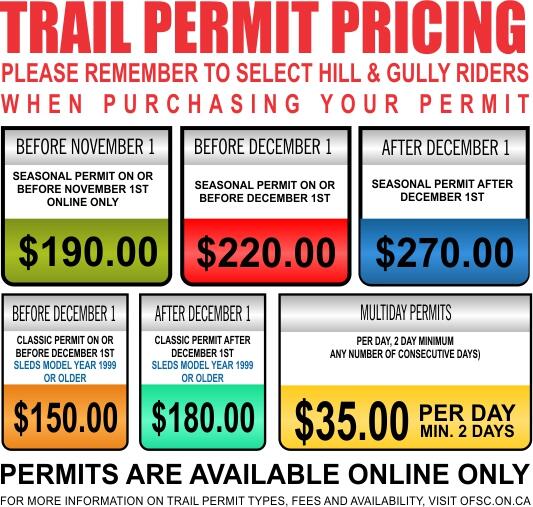
For my American friends, this might sound expensive, but once you ride up here you will see the quality of the trails you get for your money—wide, smooth trails, well-groomed, and lots of snow to play in and get stuck deep.
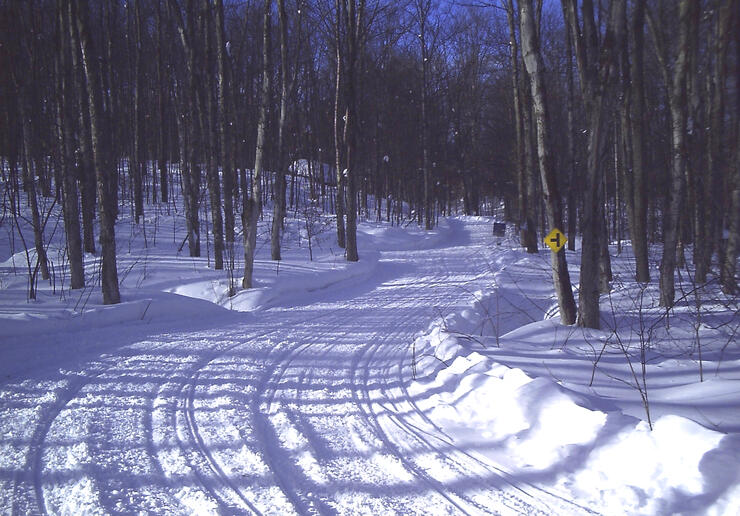
For those who aren’t sure and need an incentive to come out, the OFSC has a no-cost try-our-trails weekend pass every February. All you have to do is go online to fill out the application, print off the permit, stick it on your sled, and you are good to go. It’s that simple and you saved some bucks. Just don’t be surprised if it leaves you wanting to get a pass for the season!
Where Should I Stay During My Snowmobile Trip?
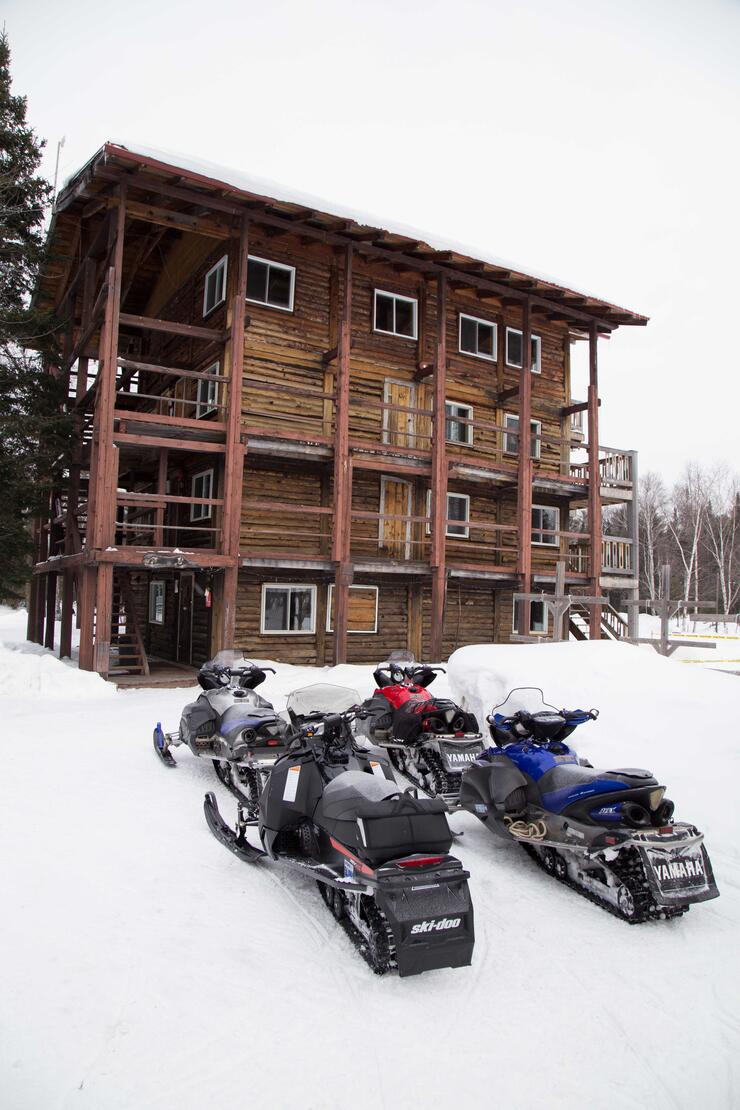
You can't really just show up at a motel and expect a room. For a while, I worked at the local motel, where I would see riders showing up at 8 or 9 o'clock at night looking for a room, and I’d have to turn them away because we were full. I felt bad and would do my best to try and find them something, but more often than not it would end up with them having to continue on to the next town and ride for a few more hours in the cold night. After a long day’s ride, you get pretty tired and are in need of a good rest. Don’t take chances with this— make reservations for every night and be sure to call the week before to confirm your rooms. While you’ve got them on the line, ask the hotels/motels what the weather is like so you can be better prepared getting ready for that big trip.
TIP: A place with a hot tub and a sauna is a good idea. A good sauna will take away those cold chills, and nothing feels better than a hot tub and a cold beer. In my home of Dubreuilville, the new owners of the Magpie Relay Motel have all that plus a “Man Cave” outfitted with pool tables, TVs, shuffle board table, and comfy couches to relax and share those stories from the trail.
Getting There
First thing, you're going to want to be prepared for crossing the border. Click here for a great how-to from a New York sledder who comes up to Ontario several times a season. Cross that border and you're in true snowmobile country!
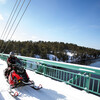
There are lots of border crossings but if you're coming from Michigan, Minnesota or even Wisconsin you should check and see if the Drummond Ice Bridge is open. The 18-km (11-mile) ride usually opens mid-January and closes late March (depending on ice conditions) and spans between St. Joseph Island in Ontario and the Drummond Island Yacht Haven Dock in Michigan. Old Christmas trees line the entire route, placed every 1/8th mile, with reflectivity added for safe night crossings. Best of all, it drops you off just off Algoma's North Shore Loop.
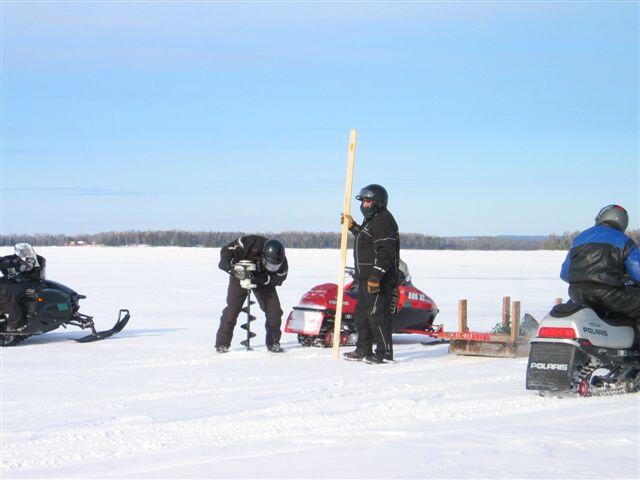
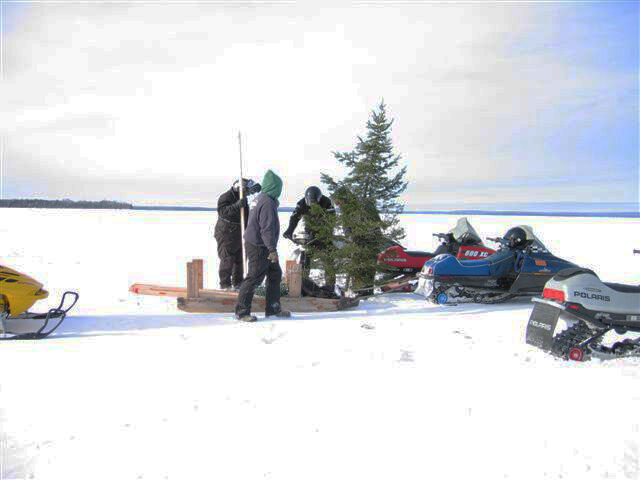
We get a lot of snow, but with it can come a lot of cold! A truck equipped with a block heater is very good to have; most trucks sold in the States don’t have them, but up here it's a standard feature. A set of winter tires is a smart move, as four-season tires don’t as good a job. Studs are legal in Ontario.
Make sure your windshield washer fluid is rated for cold weather. I've see people having problems with the red bug-off summer fluid where everything ends up frozen rock solid! Make sure that your radiator anti-freeze is rated for colder temperatures. It might be getting old and a quick check will tell how good it is.
TIP: If you’re riding up and it’s very cold and the heater doesn’t seem to be able to keep up, stop and grab a piece of cardboard and stick it in front of the rad. This will cut down on the cold wind and you’ll see the truck stay warmer inside. Make sure you don’t block off too much of the rad to maintain some airflow and keep an eye on the temp gauge. You will be nice and toasty in the cab, I do this with the groomer when grooming late at night in -30 ºC and -40 ºC temperatures.
Road Conditions
So you are going to have to drive you and your riding crew to your destination. Be warned: road conditions can change quickly up here. Driving the northern roads in my area is always exciting—it’ll be a nice sunny day with no snow in the forecast, then suddenly clouds roll in and we get blasted with lake effect snow. That’s part of the fun of riding in the North.
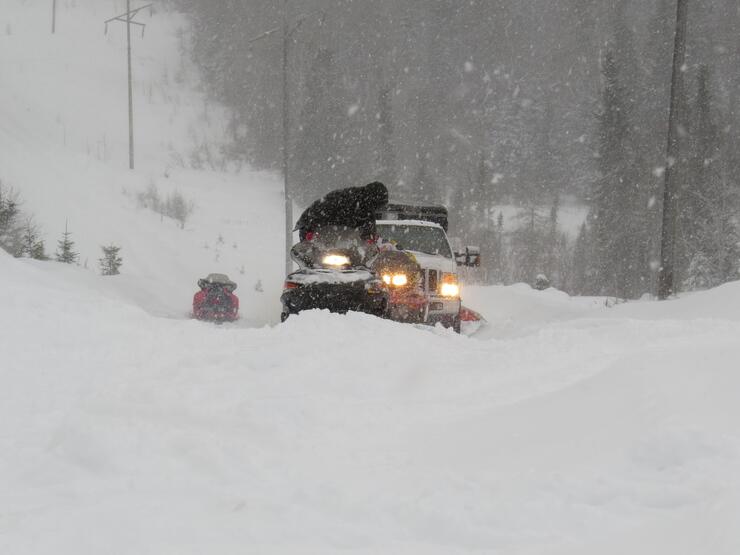
Roads often get closed because of snowstorms. Hwy 17 north of Sault Ste Marie to Wawa can see plenty of snow over the course of the winter; the road gets closed because visibility is zero and snow plows can't keep up. A smart thing to do is follow the 511 MTO (Ministry Transportation Ontario) road reports for the area you’re travelling through on Twitter (@511ONNortheastern, 511ONNorthwestern, 511Ontario) and the regional OPP feeds will also get you updates on road closures (OPP Northeast and OPP Northwest Region).
At the gas stations, ask how the roads are going north and ask them what people coming from the north are reporting. This is great information. I’ve even stopped at truck stops and asked truck drivers, they’ve always got the right info. Unless, of course, that truck driver is wearing sandals and a T-shirt in a snowstorm and looks all stressed out. Then it’s probably not worth asking because they’re from the south and have never seen this much snow before, heading on Hwy 17 to Vancouver with bald-ass tires… you know the type I mean. Hahahaha. The ones that end up jackknifed at the first steep hill in a storm, creating a total road closure for everyone else behind them.
Ok, that’s pretty much what you need to know for planning your trip. If you see anything I missed, let me know on Facebook. I want people to have the best information for doing this. I’m so lucky to live up here in Northern Ontario, and I want to see other dedicated sledders get to enjoy it too!
Click here for information on snowmobiling in Northeastern Ontario
Click here for information on snowmobiling in Ontario's Algoma Ontario
Click here for information on snowmobiling in Ontario's Northwest
Click here for Part 2: How to Get the Most Out of Your Ontario Snowmobile Trip
Recommended Articles

The Complete List of Snowmobile Events in Ontario 2025-2026

The Best Snowmobile-Friendly Lodges
Snowmobiling Winter Weather Forecast 2025-2026

I Rode the Explorers Snow Tour in Ontario and Here’s What It Was Like

Why Ontario is One of the Best Snowmobile Destinations in the World
11 TikToks That Prove Ontario is the Best Place To Go Snowmobiling

5 Weekend Snowmobile Getaways Near the GTA

31 Ways To Get In The Know About Snowmobile Trail Riding in Ontario

A Beginner's Guide to Snowmobile Lingo


