16 Tips for Photographing the Aurora Borealis in 2025
Nature’s Light Show
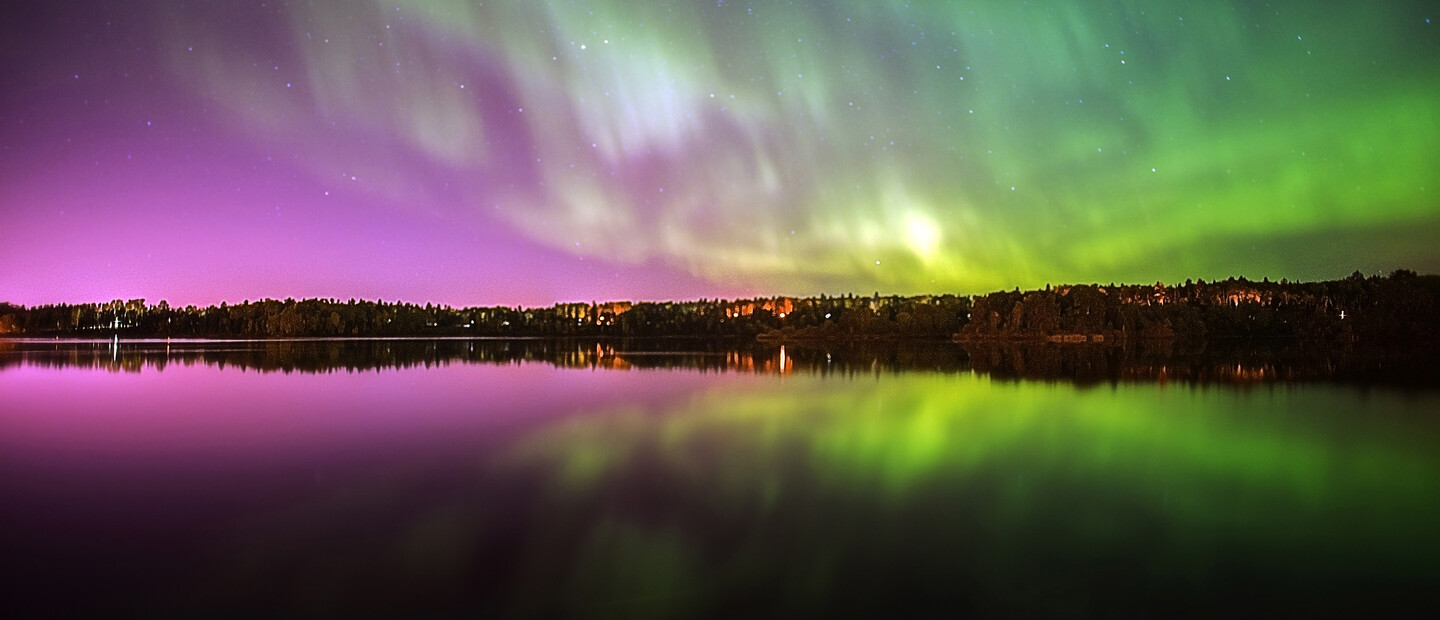
Whatever the season, when traveling through Ontario’s Sunset Country, if it’s a clear night and you’re out after dark, make sure you look to the northern sky. You may see the Aurora Borealis or what most people call the Northern Lights. Most often a greenish glow, the aurora is seen only in northerly latitudes. There is no guarantee that you will see them during your visit, but in some cases, the lights make an appearance for several days in a row and besides the usual green, sometimes they show a yellow, red, and even purple glow.
So on your next trip look up and look north – it may be the only time you’ll ever get to see this magic of nature!
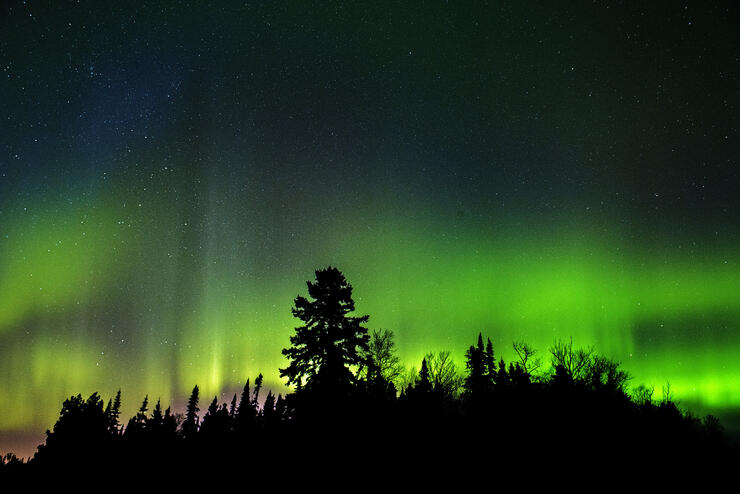
I first became interested in photography in 2011. Starting with just my phone, I wanted to share the many beautiful sights and scenes in Ontario’s Sunset Country. The phone camera didn’t cut it so I bought my first professional model and boy did it make a big difference! My first interest was in capturing the magnificent sunrises and sunsets we have up here. After many hundreds of images of these, I turned my interest to a less predictable but magical subject – the Aurora Borealis, or as many of us call them, the Northern Lights.
I had never actually seen the Northern Lights before, but as I lay awake in bed one night I looked out the window and saw a strange green glow in the sky. I realized what it was and almost every night thereafter, if the skies were clear, I would wait up to see if the Northern Lights would show themselves again. While this is a solar phenomenon that’s not predictable at all, 2015 proved to be a great year to see the most wondrous cosmic displays and I was able to capture many images I thought would be keepers.

Learn From Your Mistakes
I tried to take photos of this experience to share with others, but unfortunately, due to my inexperience, my first few photos failed. They were blurry, dark and most of the time completely unusable. However, it only made me want to learn more and I have been hooked ever since! Over the next year, I spent countless hours during the day reading article after article on how to take successful Northern Lights photos. I would read tips and tricks, and spend my nights practicing what I'd learned. I also did a lot of research about when the lights are most active; and how to best capture the images with my camera.
I had been following a page that gave regular updates on when and where the lights are the most active. I checked it every half hour and monitored the progress throughout the day. I decided I was going to put all of the knowledge I learned to the test. I knew I needed to find somewhere quiet and dark to try it out. I stood on the beach for hours and Mother Nature put on an unforgettable show.
Second Time Trying to Photograph the Northern Lights = Success
After taking hundreds of photos, spending hours watching, constantly changing my camera settings, and checking my screen, it ended, and I headed home. I stayed up for many more hours combing through the images and choosing my favourites. I could not believe my eyes. I had finally taken a successful photo of the Northern Lights Experience!
I was extremely excited and immediately posted the photos on Facebook to share with others. You too can take great pictures of this phenomenon by learning from my experiences about taking pictures of the Aurora. Even if you are not interested in taking pictures of them, this will allow you to view this awesome sight in the most ideal conditions for the best experience possible – trust me, it is worth it!
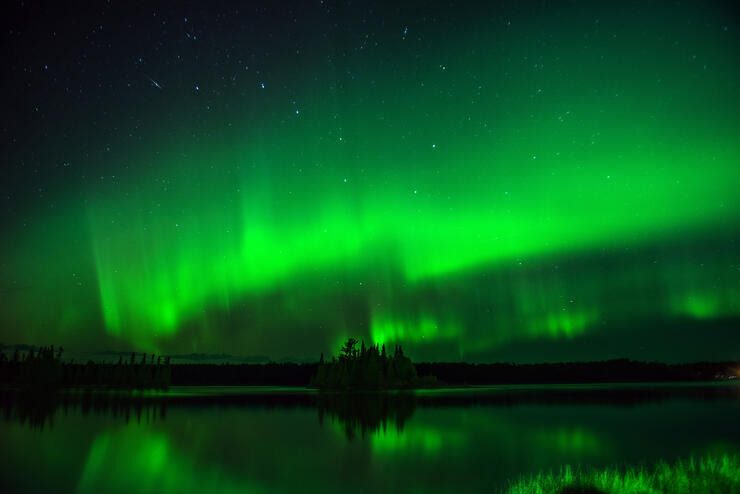
Tips for Taking Pictures of the Northern Lights
If you follow these tips you will be successful at photographing the Northern Lights—eventually anyway—just be patient!
1. Find an area with little or no light pollution from streetlights, city lights, etc. The more remote the better.
2. If you encounter light interference, position yourself with any possible light sources to your south.
3. Scope out your potential spots during the day.
4. In order to achieve the best photos of the Aurora Borealis the very first thing to do is invest in the right equipment. Buy a good SLR camera, a wide-angle lens, and a tripod.
5. Read up on your camera’s manual settings, and play around with them so you understand how to achieve your desired photos.
6. Practice, practice, practice!
7. Follow a Northern Lights forecast site. One that I use is www.softservenews.com. You can also follow them on Facebook.
8. Check the local weather forecast. You want to make sure it is going to be clear. Too many clouds or fog will block your view of any light activity.
9. Arrive and set up at your chosen spot early. Keep in mind that the Northern Lights can last for hours but other times may only be visible for a short period of time.
10. During the colder months, it is advisable to bring a microfiber cloth. This is to wipe off your camera lens in case it fogs up.
11. Make sure you dress in warm comfortable clothing.
12. Make sure you use a tripod to stabilize your camera.
13. Mind your exposure length. The longer the exposure the more movement you are going to have in the sky. The shorter the exposure, the less of a trail you are going to have.
14. Pay close attention to your ISO and Aperture settings to match the look you are trying to achieve. Just always make sure you shoot in RAW. And remember you need an image editor to view raw files e.g. photoshop. If you don’t have an image editor, then use the large jpg setting.
15. Bring extra batteries for your camera.
16. Have fun!
I really hope you are all able to experience the Northern Lights for yourself. They are really unlike anything else in the world.
Recommended Articles

Is the 1,400 Kilometre Drive to Northwest Ontario For a Fishing Trip Worth it?
8 must-see waterfalls

6 Ways to Get Your 10,000 Steps This Fall
Top 5 Reasons You Should Be Fishing in Morson, Ontario
Discover The Winnipeg River
Enjoy Sunset Country's Fall Colours on Your Next Road Trip

Fishing in the Fall?

6 Reasons to Book a Fall Vacation to Sunset Country
10 Reasons to Avoid Ontario’s Sunset Country
Heading Across Canada?
A Guide to Sunset Country Museums

The Promised Land: Best Muskie Fishing in Ontario
Fall Fishing Tips
5 Essential Boreal Experiences in Ontario's Sunset Country
5 Obscure Facts About Northwestern Ontario: Were You Aware of These?

Great Food in Relatively Unknown Places
Outdoor Medicine
A Guide to Bringing Your Pets on Vacation to Canada
There's more than just fishing in the Red Lake Region
5 Amazing Sights You Can Only See By Boat
Going Fishing in Canada?
Going fishing in Ontario?
Outdoor Adventure in Ontario's Northern Paradise
Planning A Family Fishing Trip to Canada
Tips from a Fishing Legend
