Winterize Your RV
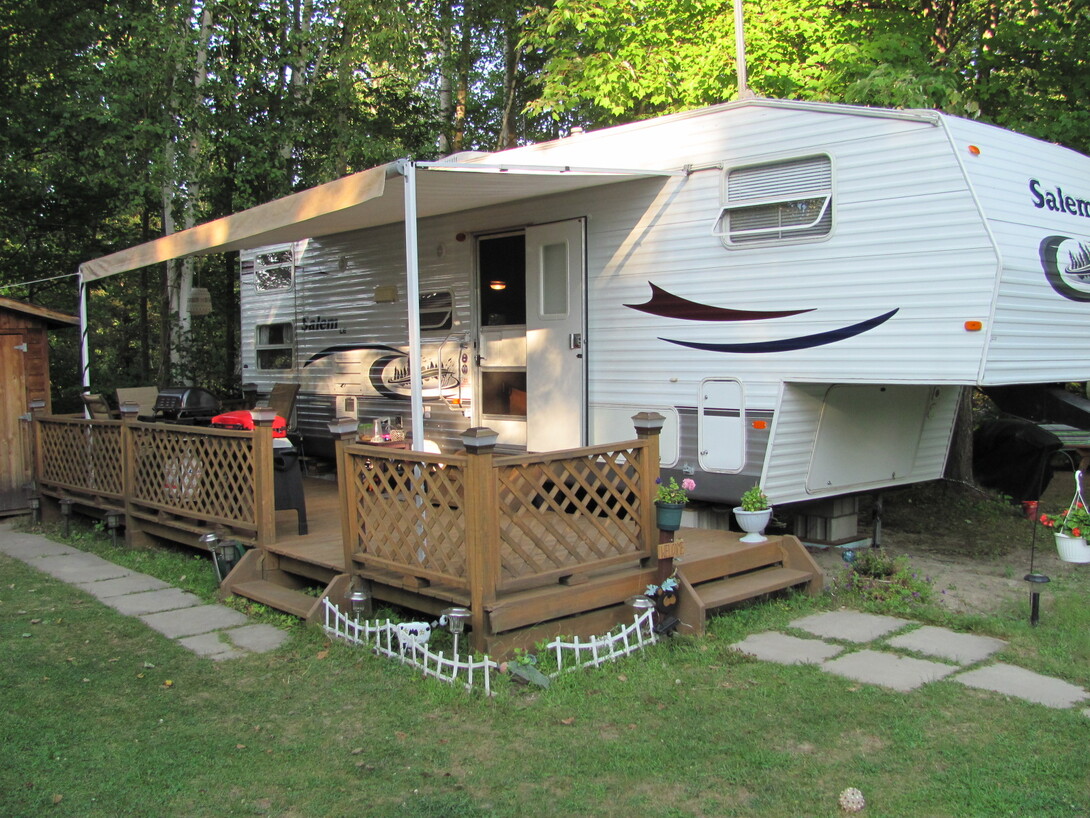
So you enjoyed one of the best camping/RV seasons ever. Congratulations! Where you're new to RVing or an experienced, long-haul RV enthusiast–winter is just around the corner. There is crucial maintenance work to complete before you call it quits, and put your beloved camper to bed.
In order to ensure future family memories when camping time ‘rolls around’ again next spring, winter trailer preparation is necessary. Remember that a well-maintained RV/camper will provide many years of worry-free enjoyment. Take it from an avid RVer who learned the hard way over the years.
Once you've removed all your personal belongings from the RV and ensured the fridge, drawers, and storage areas are cleared of anything perishable, you're ready to move on to your essential RV winter maintenance checklist.
Find a safe Parking and Storage Location for your rv
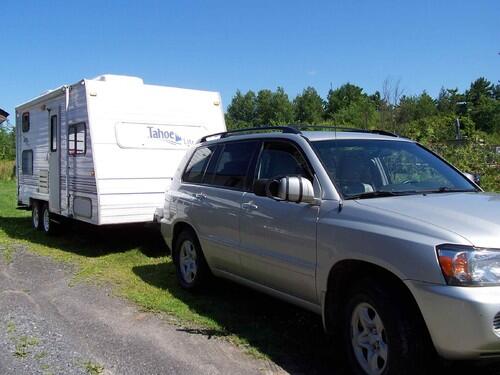
Ensure that your winter storage location is flat and clear of large trees. Whether parked on your own property, or a private storage facility, a hard-packed parking surface is preferred with no overhead obstructions.
Winterizing your RV: wheels
inspect and protect your Wheels
Inspect your trailer tires, rims and wheel bearings at the end of the season. Trailer tires are rated for 70 PSI, which means you must inflate to that amount exactly. Inspect tires for signs of ‘uneven’ wear, which would indicate a wheel-balancing or axle problems. If tires look solid and smooth and are not dried-out, cover them with vinyl wheel covers to protect from sun, snow and rain.
You can either ‘repack’ the bearings with grease, or have them replaced completely. Wheel bearings past their prime will overheat and could leave you stranded on the side of the road (with your family scowling at you from inside the vehicle).
get it up on Wheel Blocks
Unless you store your trailer for winter on asphalt with proper drainage, parking it on wooden blocks can help preserve the integrity of the tires, and keep it from sinking into the ground.
Winterizing your RV: awning, roofing, and slides
roll and secure your RV Awning
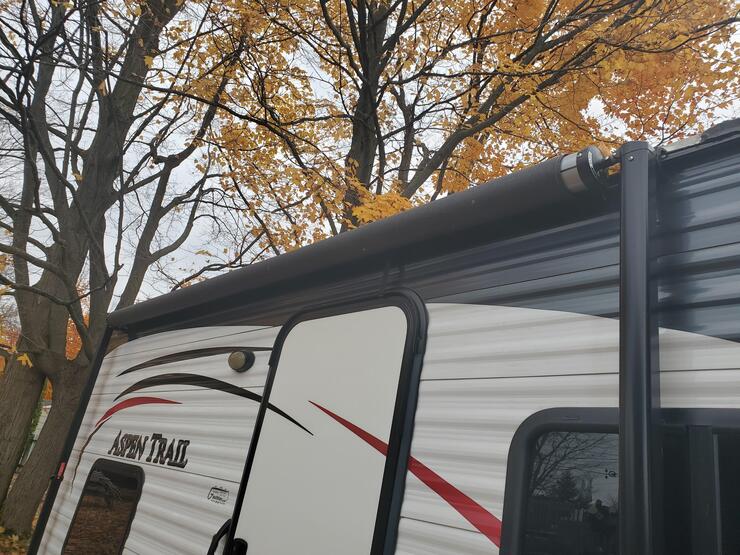
If your trailer or RV is equipped with an awning, ensure that it is rolled up tightly and secured against the top rail of your camper roof. Some awnings come with a protective bag for safer winter stowage while others do not. Never store your trailer without retracting the awning.
sweep the Roof and do any neccessary maintenance
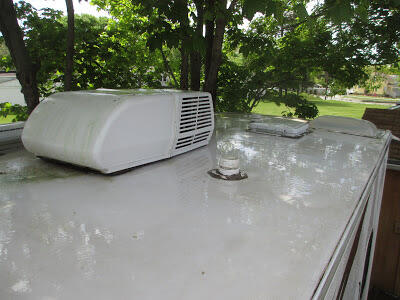
Most modern RV’s come with a rubber-style roof which is low maintenance but still requires cleaning–it's essential to ensure your roof and all its components are winterized. In the fall, the entire roof must be swept clean of debris including rain gutters, around the air vents, and the AC unit. A soft bristle broom works best, and be careful not to walk-on or scratch any of the roof surfaces. Access the roof from the sides while standing on a stepladder.
do a Slide-out inspection
If your trailer or RV comes with a slide, or tip-out, be sure to retract it tightly against the trailer wall for storage. Inspect rubber seal around the slide for damage and clear away debris. No sunlight should pass through any joint between the main trailer and slide.
Winterizing your RV: electrical
disconnect and store your Electrical cord
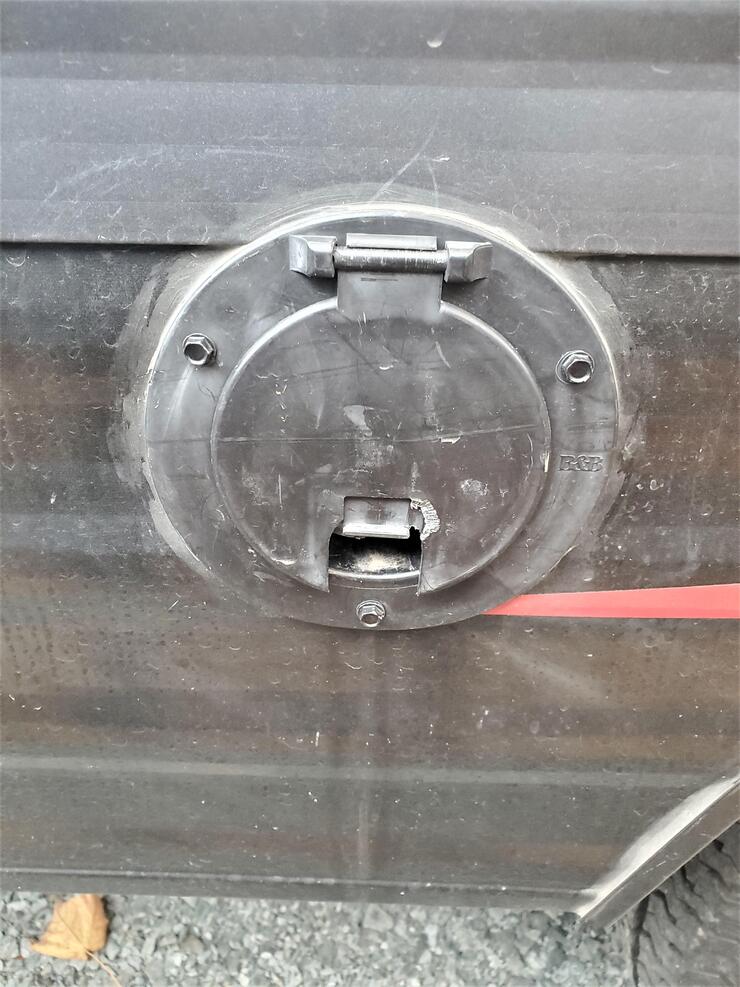
Best sure your trailer/RV power cord has been disconnect from the outlet, retracted and stored away inside the storage cable hatch. I sometimes use a small strip of duct tape to keep the hatch door closed also preventing small rodents from entering.
Inspect and replace Vents/AC
Cracked toilet vents or air vent covers should be replaced before storing. Inspect seals around all the vents and add more RV sealant to spots where factory caulking is starting to crack.
turn off and cover the Propane
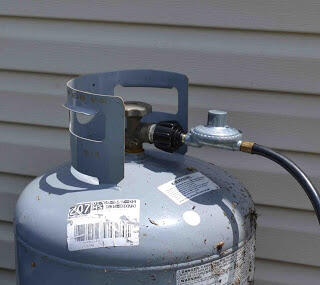
Turn off all propane tank valves for the winter and cover them with plastic. If your RV is equipped with a Liquid Propane (LP) detector, press the test button to confirm that it is armed and ready before removing the trail battery.
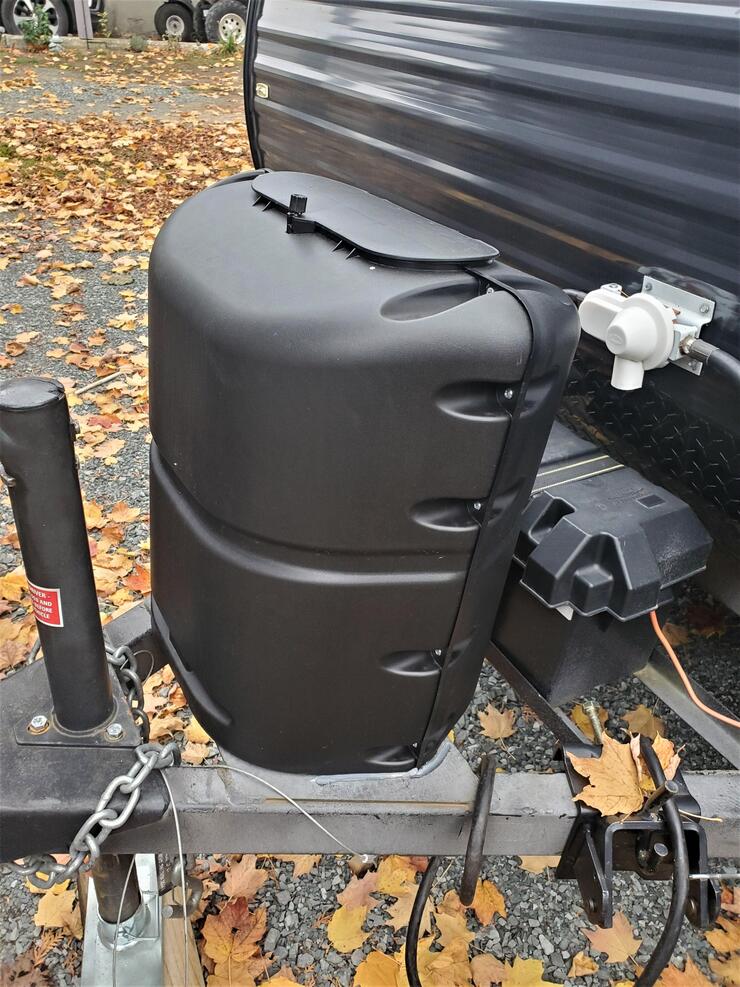
Winterizing your RV: Water
Hot water tank prep
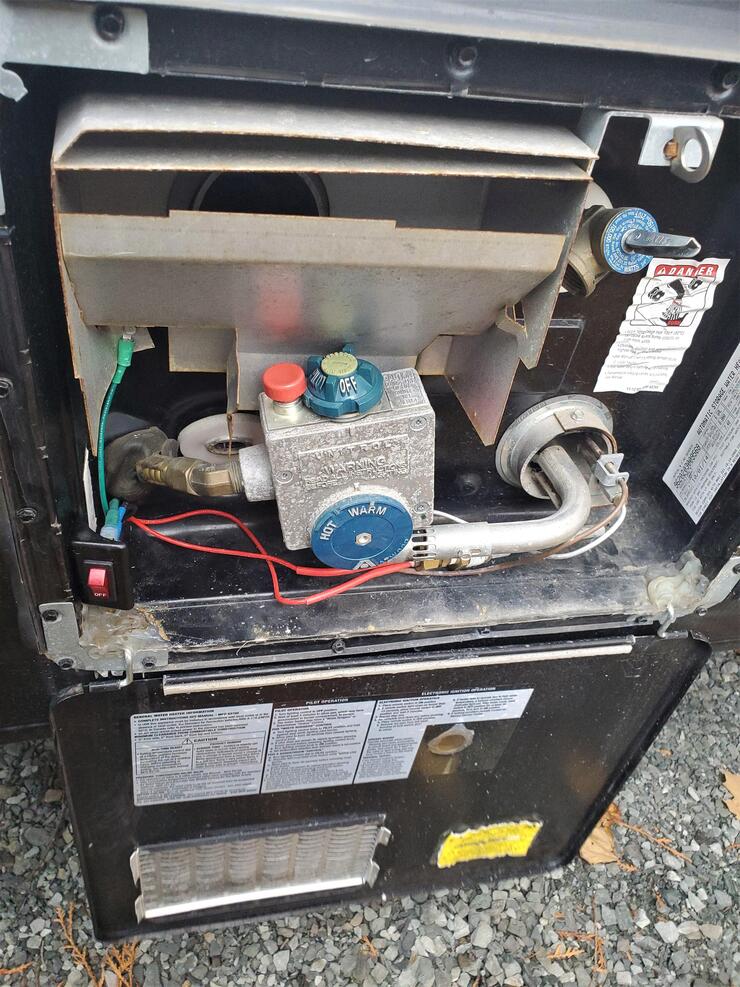
Empty your hot water tank each fall, and leave the plug out to ensure it's drained and dry. Most modern trailers have a hot water tank bypass valve, which allow it to be isolated from the remaining water system. In this case, it will not require filling with RV antifreeze, it can remain dry.
drain flush and dry the Black water/grey water
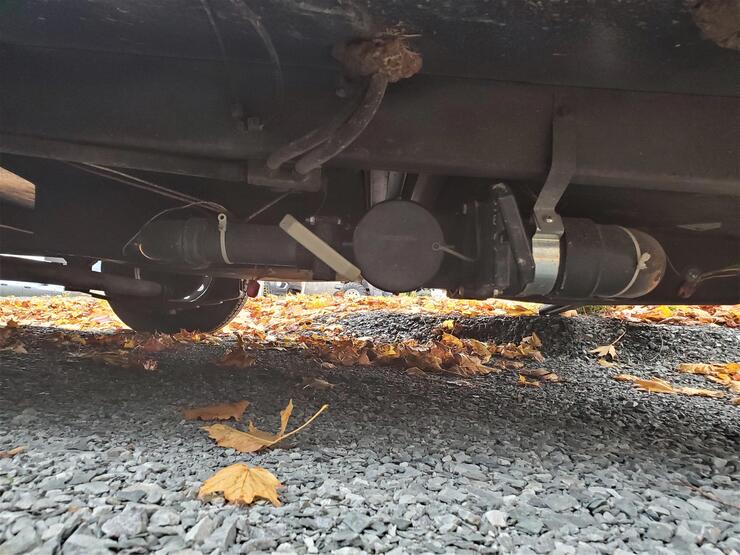
The integrated black water and gray water tanks should be fully drained, flushed, and left dry for the winter. I use a garden hose to spray water up into the pipe outlets to make sure all waste and debris has been removed. Allow tanks to fully drain and leave valves open for the winter. As a final step, tape screening around end of the open pipes to keep rodents from entering the tanks.
Water lines prep
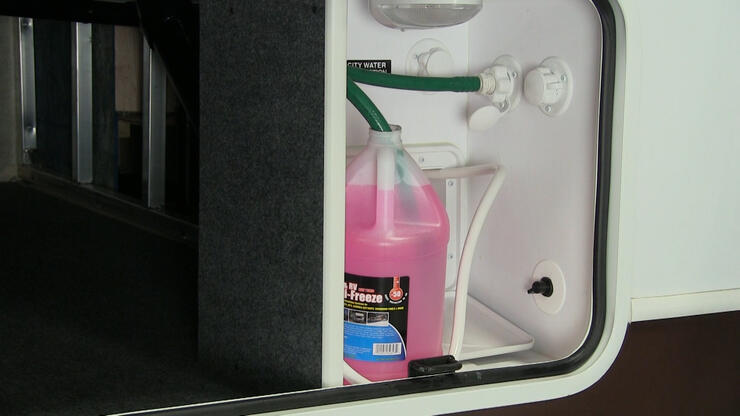
Perhaps the trickiest of RV maintenance tasks is winterizing the water lines. Begin by first opening and draining all water taps including the sinks, toilet, bathtub, shower, and the outside showerhead (I always forget that one.) A strong air compressor connected to the water outlet is perfect for blowing water out of lines.
Once the lines are drained, you will need a least two, 4-litres jugs of non-toxic RV antifreeze depending on trailer size. RV antifreeze is specially formulated for trailers–it's pink, rather than green like automotive antifreeze. With a small water pump connected to your water outlet, begin slowly pumping the pink fluid throughout the water system. Have someone inside the trailer confirm when fluid is dripping from every water outlet, including the outside shower.
prep the Sinks, shower, tub
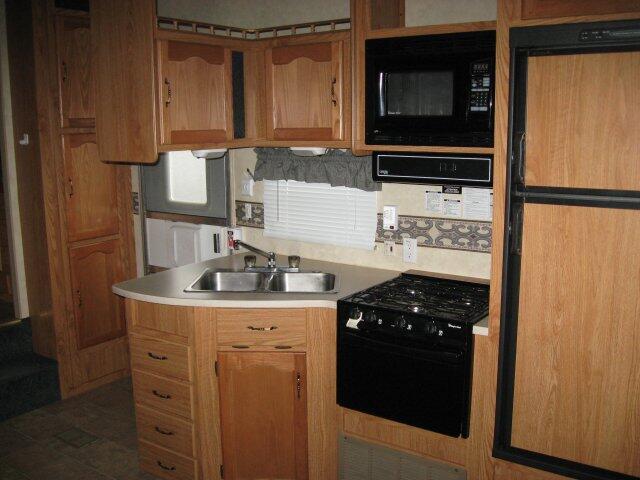
Now that your waterlines are well treated, you can add a small amount of fluid to all the drains. Toilet, bathtub, shower and all the sinks should have a small amount of fluid poured into them as well.
Winterizing your RV: final checklist
Roof wrap option
The best RV roof protection during winter is a covered storage area, but these are rare. Although RV roof covers/wraps are sold on the market as effective winter protection, they bring with them a set of concerns. Never cover your RV with a conventional plastic tarp as moisture can form and freeze underneath causing serious roof damage. If covered storage is not possible, keep an eye on snow depth and sweep the roof clear after approximately 1.5 feet of snow. Never use a shovel and do not walk on the roof.
Final Walk around
Now that your beloved seasonal residence on wheels is prepared for winter, always do one final walk around to be sure nothing looks awry. Print out this essential winterizing checklist if need be to confirm that every task has been completely.
Putting your trailer/RV to bed properly for the winter provides peace of mind. Spring will come soon enough and the excitement of getting back out on the road will not be overshadowed by an unfortunate winter trailer mishap.
Enjoy a safe and happy winter season and see you in the spring! And remember it's always a good time to start planning your next trip! For advice, trip planners, and information visit GoRving Canada.
Recommended Articles

The Complete 2026 List of RV Shows in Ontario

RV Camping Sites in Ontario: The Ultimate Guide

An RV Camping Guide to Ontario's Provincial Parks

4 Essential RV Itineraries From Toronto

5 Tips on How to Go Full Time Remote Work With Your RV

RV Summer School: An Educational Road Trip That Kids Will Actually Enjoy

A Guide to RV Camping at Pancake Bay Provincial Park

Love on the Run
Have Your Toured Ontario's Provincial Park Nature Trail?

An RVer's Guide to the Voyageur Trail

Camping and RVing in Restoule Provincial Park
