A Basic Guide to Moto Camping

Do any of these apply to you?
- You barely make it to work on time during the week, but you have no problem getting up at 6 am to go for a ride;
- You’ve ridden your motorcycle from the early morning into the evening;
- You’ve ridden all the good roads in your area;
- You’ve burned your weekend by riding all day both days.
If so, you have Motoaddictitis, where the only prescription is more riding. For best results, go on a road trip in Ontario, where you can get lots of seat time and you're sure to hit some new roads.
The more affordable, DIY route is to go moto-camping. It also gives a greater sense of personal accomplishment and makes you feel like you’re in your own version of Easy Rider.
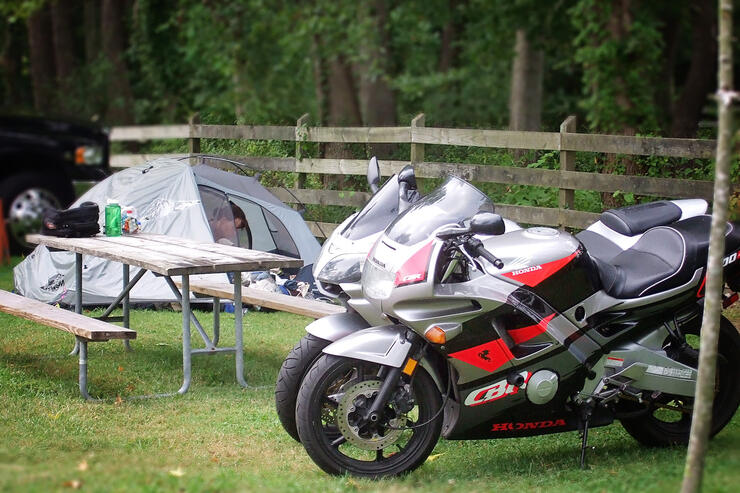
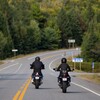
Just like riding, motocamping is always better with friends!
Step 1: Find a friend or group of friends
Having good friends on a road trip will make it much more enjoyable as you share (or exaggerate) your adventures of the day. As well, many hands make light work of the tasks required for camping. You can also spread the load by sharing equipment and splitting costs, etc. Plus there is always safety in numbers.
Step 2: Have a route. Or not.
I personally prefer to preplan my routes and upload them to my GPS. This way I can ride without worrying about finding accommodations for the night (who knew there would be an Elvis convention in town and all the area accommodations are full?!). Others prefer a more organic approach and just head where their front wheel is pointed.
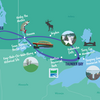
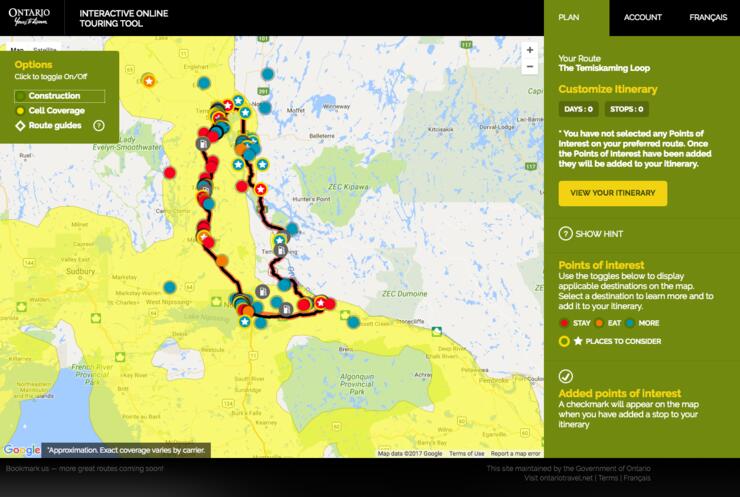
Fortunately, Ontario has no shortage of great roads. The interactive trip planner Go Tour Ontario has pre-planned routes (requiring minimal effort on your part to research roads) and even tells you where there is construction and what cell service is like in the area!
Step 3: Plan your overnights (optional, see step #2 )
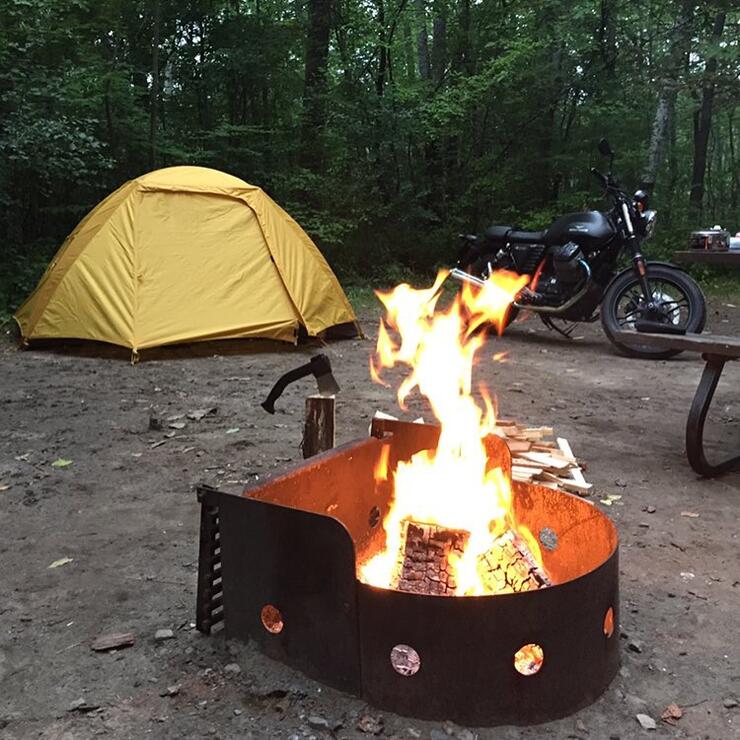
Ontario Parks has lots of great options for camping, but you can also stay in privately run campgrounds.
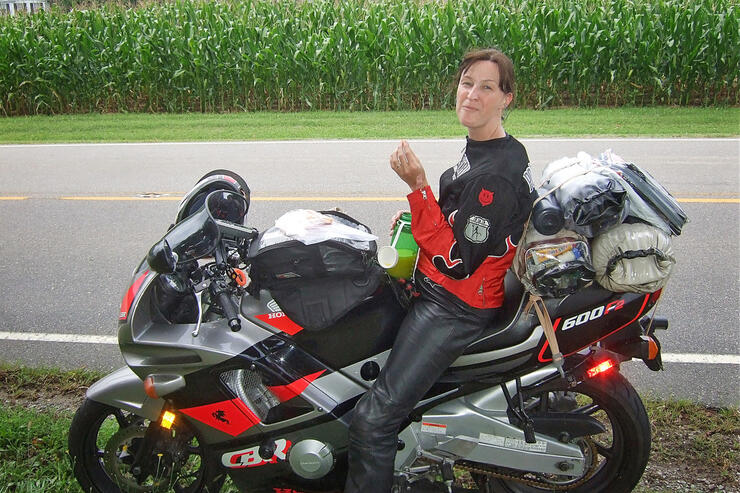
Dry bags will keep your stuff dry. Pro Tip: Clear bags make it easier to find things if you're not worried about other people seeing your underwear.
Step 4: Pack
If you’ve grown up in Ontario, you most likely already have or can borrow the basics:
Basic Camping Equipment
- Tent
- Sleeping Bag
- Sleeping Pad
- Travel Pillow or just roll up some clothes to put under your head
- Flashlight or headlamp
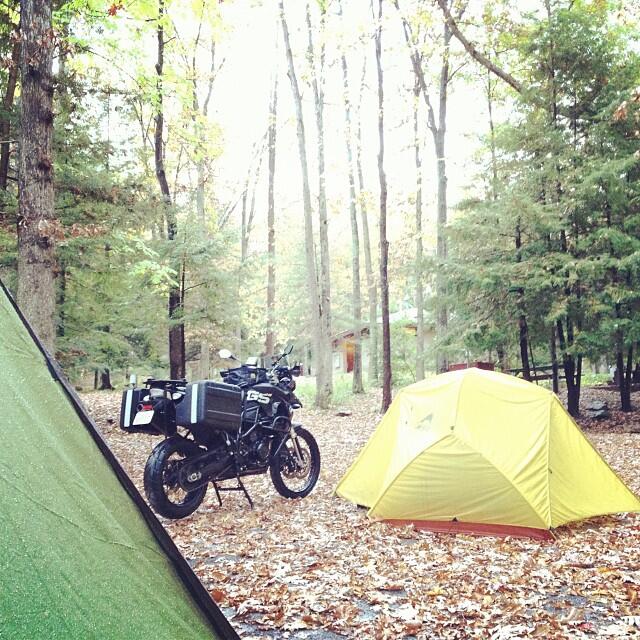
Basic Overnight Stuff
- Shoes or sandals – it’s important to get your feet out of your riding boots
- Bathing suit - swimming in a freshwater lake is a refreshing alternative to taking a shower
- Hand towel – can be used to dry your whole body too. Quick dry is preferred but not necessary.
- Toothbrush and toothpaste
- Soap and Shampoo – don’t use directly in a body of water
- Change of underwear and socks at a minimum
- Bug spray and flashlight
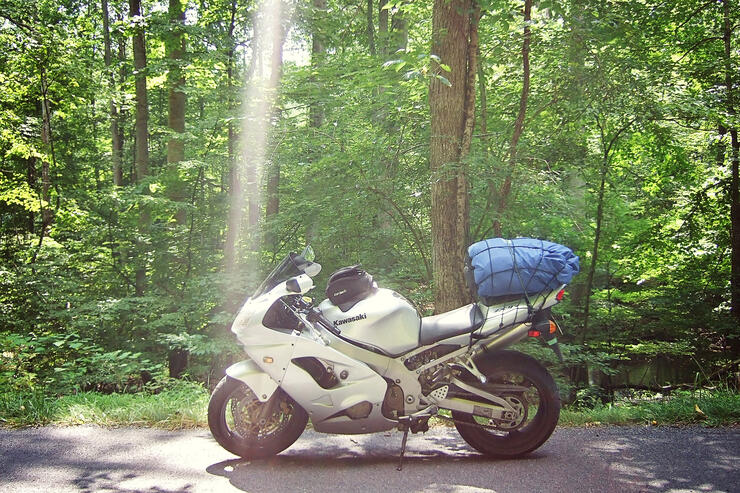
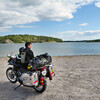
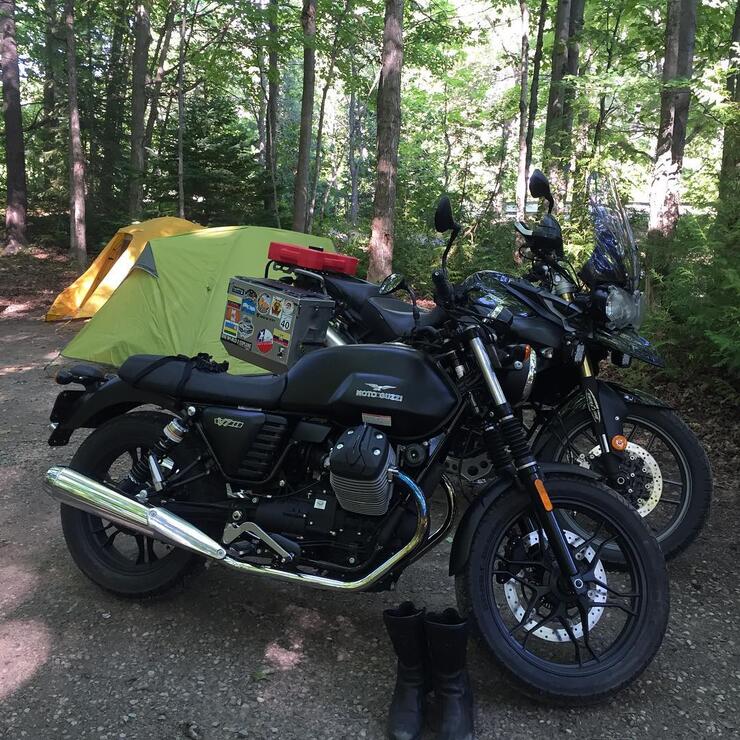
It's amazing how much your bike will carry! Rok Straps and bungee nets are great for carrying large loads. Pro Tip: use a bit of electrical tape to protect the bodywork where straps may cause damage.
Basic Motorcycle Touring Stuff
- Straps – You need to carry your stuff! I usually do some combination of Rok Straps and a bungee net.
- Waterproof bags – Dry bags are preferred, although in a pinch you could put your stuff in a garbage bag inside a duffel bag. Don’t put the garbage bag on the outside because it will get shredded by the wind in no time
- Kickstand puck – You’ll probably be parking in dirt, sand or gravel so it’s important to keep you kickstand from sinking into the ground and falling over. I use a small piece of spare plywood, or you can get one from a local motorcycle show. Pro tip: Drill a hole in it and attach a string with a loop on the end so you can pick up your kickstand puck while sitting on your bike already. (I’ve had to learn this the hard way… )
- Water bottle or hydration pack
- Dense snacks – Granola bars and nuts work best
- Rain gear – Doubles as a windbreak on a cold day
- Know the range of your tank so you don’t end up somewhere out of gas
- Paper map in a bag – your GPS could fail or fall off (points to himself)
- Microfibre cloth to clean your visor
Technology
- External battery pack
- Battery charger and cables
- Phone – post your photos on social media to make your friends jealous
- Camera (optional)
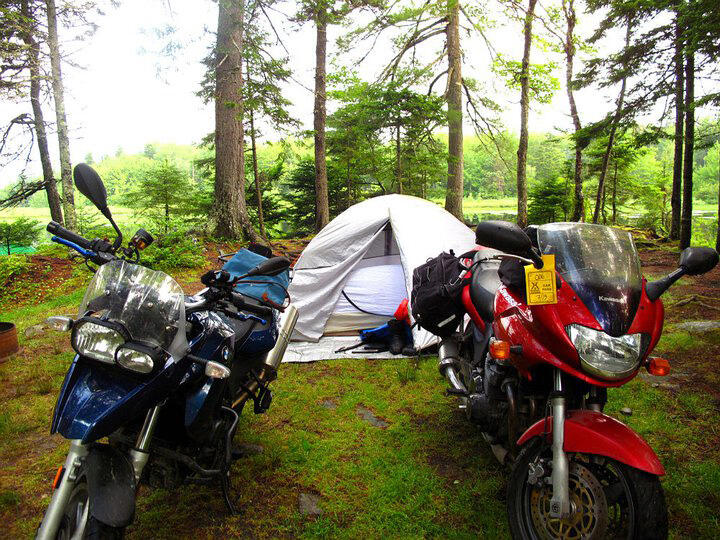
Camping provides a connection with nature you cannot get with staying in a hotel or motel. Spending time in nature alleviates stress and promotes healing, a perfect pairing with motorcycling.
Step 5: Food
You could go hardcore and bring your own food, stove, camp fuel, pots, cutlery, etc. For ease of packing, especially if this is your first moto camping trip, I would suggest eating out for your meals. This also gives you a chance to charge your technology, and meet some local folks with local information.
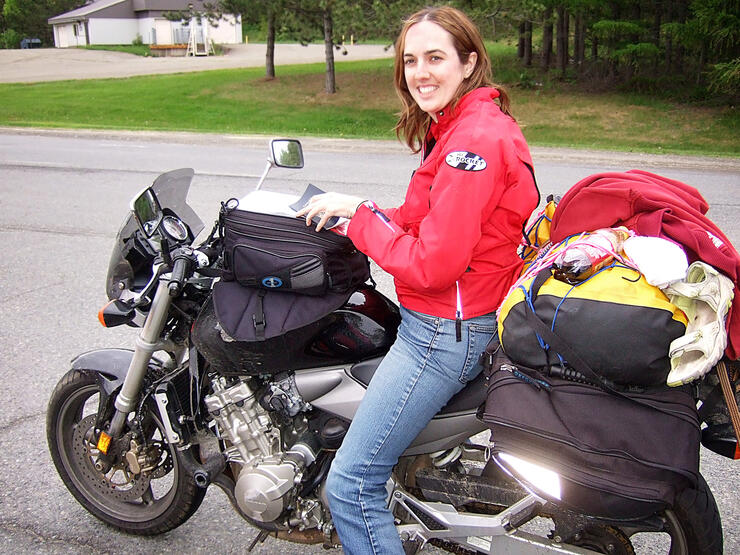
Make sure all your stuff is well secured ( I once lost a raincoat, then had to use a garbage bag the next day to stay dry—one of my classier moments). Pro tip: If the weather is dry, put your wet garments (eg. towel, bathing suit, etc.) under your bungee straps or net, and let the wind dry it off for free!
Step 6: “Miscellaneous”
- Tell your friends or family where you’re going and when you’ll be back
- Have your “ICE” (In Case of Emergency) contact easily accessible
- Roadside assistance plan – you never know what can go wrong!
- Credit card and some cash
- A few spare ziplocs to stay organized and to keep things dry (eg. technology)
- Follow these emergency preparations for all motorcycle roadtrips!
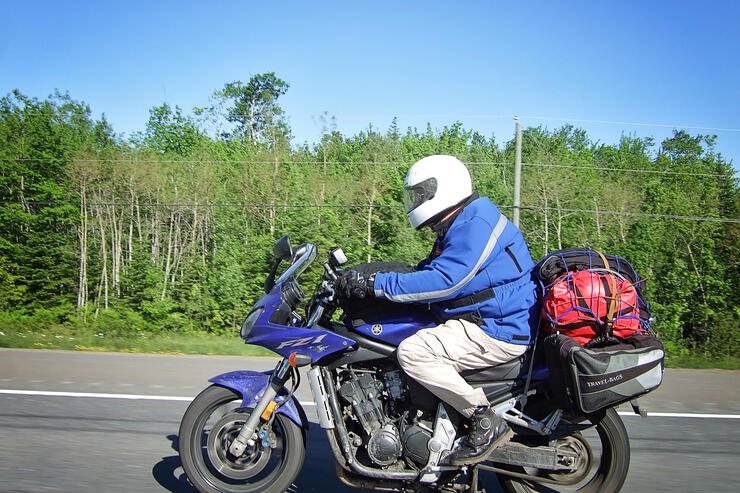
You can probably think of other items you should bring in addition to this basic list. But that’s the point – it’s important to plan. Happy Motocamping!
P.S. If you have other thoughts about what to bring, or how to make moto camping easier or more enjoyable, please let us know on our Facebook page.
Recommended Articles

Bucket List Motorcycling in Ontario, Canada 2026

Ontario's Best Twisties: Five Roads to Get Your Lean On

The Big Belly Tour—A Complete List of Ontario's BBQ Joints
It's Bike Night in Ontario 2024

Ontario's Top Twisties

Have You Ridden Canada's OG Highway? Here's Why Every Rider Needs to Hit Up Historic Highway 2
23 Amazing Photos That Prove PD13 Is Still The Best Motorcycle Event Ever

Motorcycle Swap Meets in Ontario—The Complete List for 2025

And a Vespa shall lead them all...

